1968 Corvette® L88 Rebel Racer review 85-4915

RoR Review 20110412 – 1968 Corvette® L88 Rebel Racer 85-4915
Review and Photos by  Tony Gibson
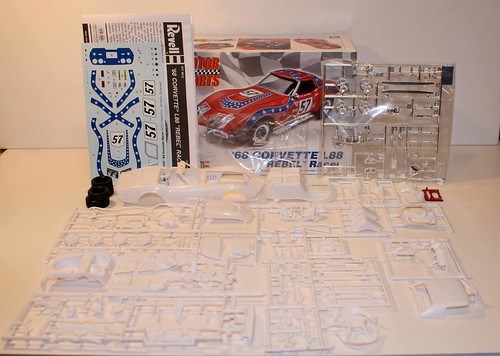
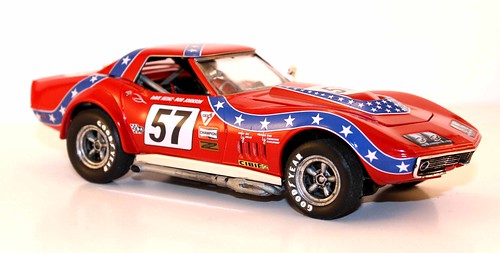
Figure 1 For the modeler, this is the Revell Motorsports Series 68 Corvette L88 Rebel Racer in 1/25 scale. This kit is molded in white, chrome and clear with red tail lights and includes 119 pieces with a skill level 2 rating. The kit features altered front and rear generic (without names) tires, and beautiful, bright, clear decals. The kit comes with two options, stock or race versions with flared quarter extensions and non-bumper front. This model also has a removable convertible hardtop and easy step-by-step directions.
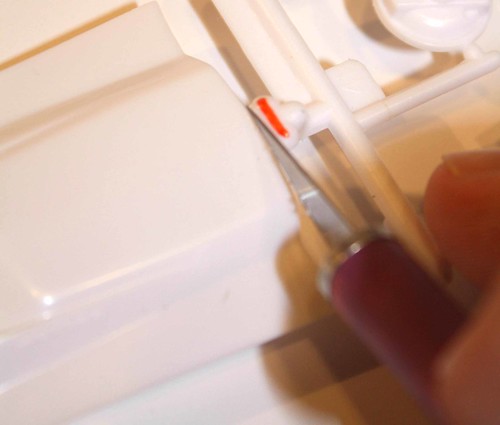
Figure 5 To remove part of the tree from the body and the hood from the tree, you’ll need to score with a sharp blade, then cut away. If you try to break these parts away it will cause too much damage.Â

Figure 10 Use the same process for cutting away the quarter flares and the roof. Some of the extra may need to be trimmed with a sharp blade before moving on.
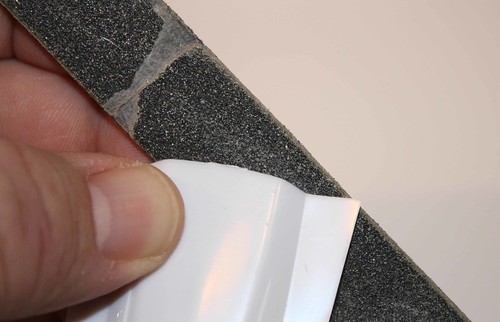
Figure 8 To get rid of the rough edge after cutting parts away, use an emery board with a light touch, then finish with 600 grit sandpaper.
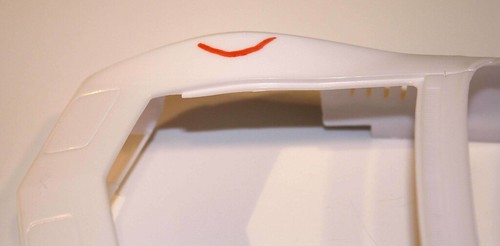
Figure 13 A small molding dimple was found on top of the passenger side fender (part #1).Â
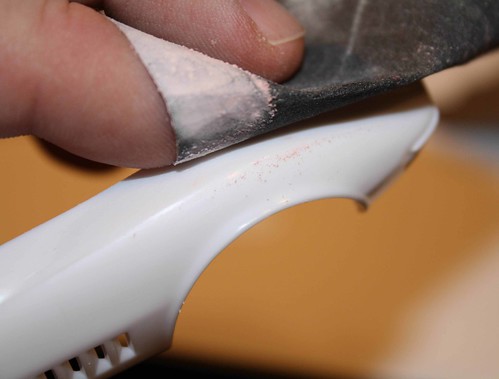
Figure 14 This was easily sanded away with 600 grit sandpaper. A final follow up was given with 1000 grit paper. This may have been a defect for this model alone or it may be common with this kit.
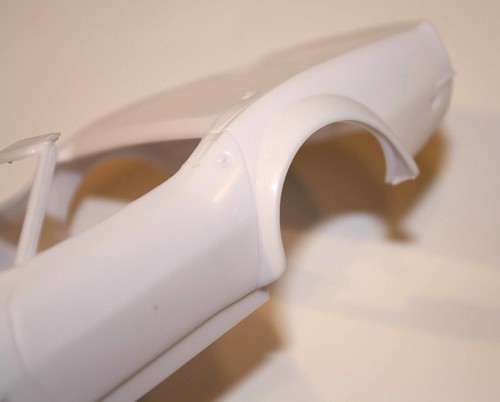
Figure 15 Getting the body ready for paint, it seemed easiest to place the quarter panel flares before painting. This is a builder’s choice but will give less chance of error than if they are placed after painting. Gorilla® glue was used for a better bond and better edge.
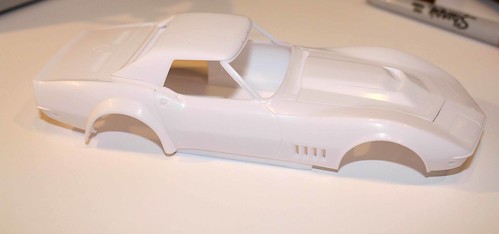
Figure 17 Before painting, all the body pieces were mated together to make sure everything fit. All body parts were then washed with mild dish soap and water, rinsed well and dried completely.
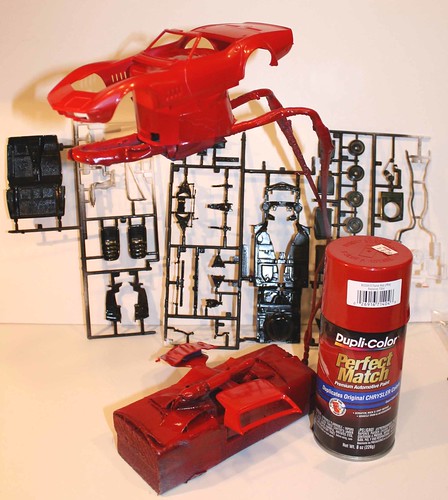
Figure 18 The body was painted with Duplicolor® products. First, one even coat of white primer. After an hour in a nice warm place, the parts were given a quick wipe with a piece of old t-shirt. Then three light, even coats of Flame Red™ were applied. Each coat was just a little heavier than the previous coat. 30-45 minutes of drying time was allowed between coats. The color coat was allowed to dry in a warm area for two hours.
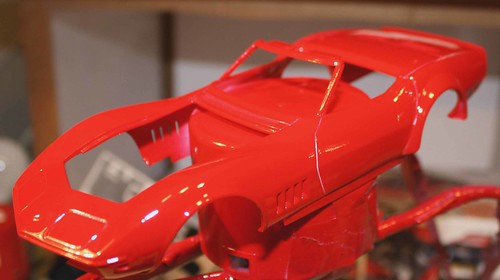
Figure 19 Finally, two even coats of crystal clear were applied with 30 minutes between coats. All parts were allowed to dry 24 hours. It’s always best to give the paint a lot of time to dry; your finish is the most important part of the build. Semi-gloss rattle can paint was used to paint the chassis and interior parts. These were also allowed to dry 24 hours.
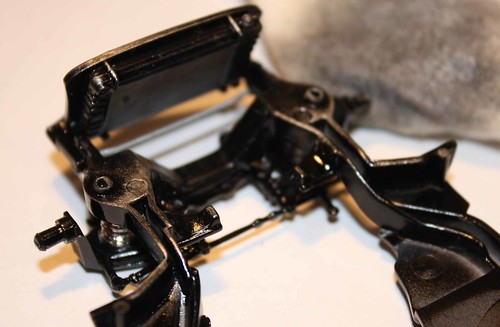
Figure 21 The chassis and suspension went together smoothly. After assembly, some silver bottle paint was thinned down and rubbed over the high points of the chassis with a bit of t-shirt material. Use a light touch. It doesn’t have to be perfect. This helps highlight some of the parts.
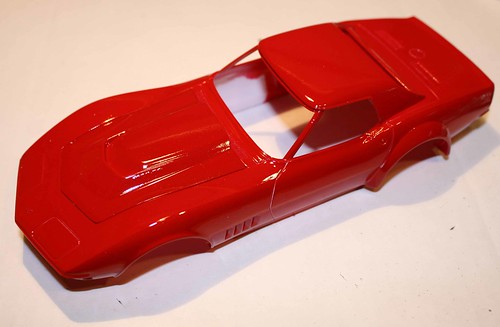
Figure 22 Once the paint was dry, the body was mocked up again just to check fit. Sometimes the thickness of the paint will change how parts fit.
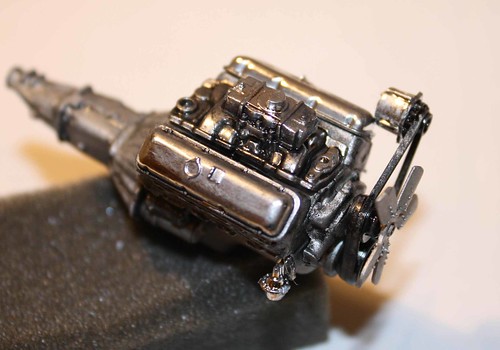
Figure 23 The engine went together smoothly and without surprises. The engine was given a wash of thinned flat black paint, then the excess dabbed off with a paper towel.
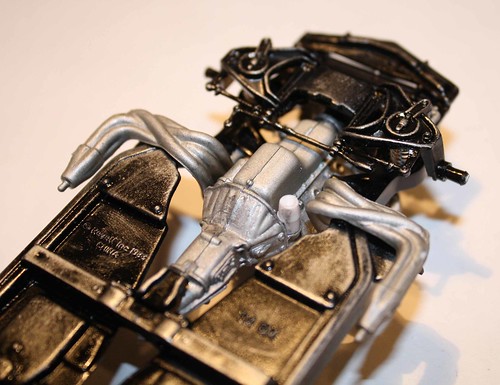
Figure 24 The headers were put on before the body was put on. This is easier than wrestling around with them after the body is set into place.
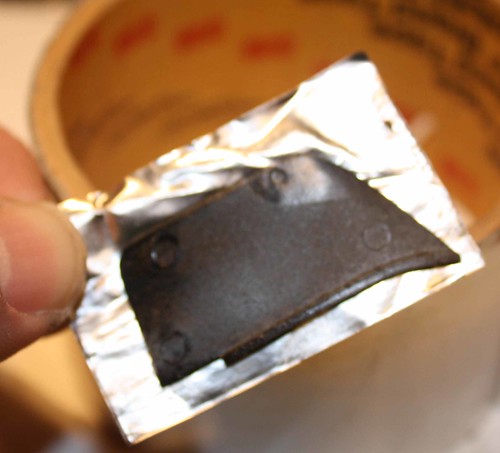
Figure 26 To give the interior a little more detail, the inner door pads were covered with aluminum tape.  This is the tape they use on furnace duct work. If you buy a roll of this tape, you’ll find lots of uses for it and a roll will last a long time. The door pad was laid on the tape (the side that will show once in place facing the tape). The tape was cut to size, leaving enough to wrap around the edge of the part. These edges were then folded over and smoothed, leaving as few creases as possible.
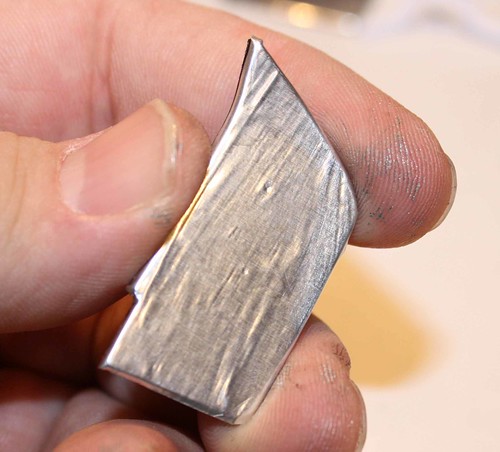
Figure 28 Once covered, the pieces should look pretty smooth and flat.
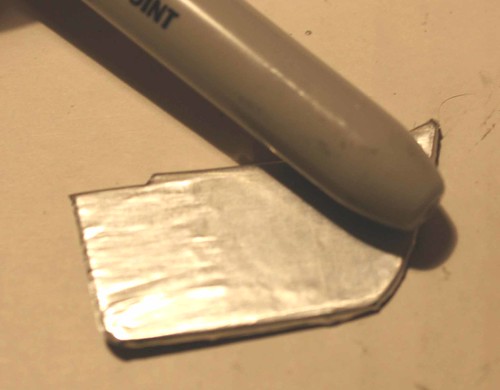
Figure 29 Using the round edge of a marker, or any other smooth, hard tool, rub over the part to smooth the tape completely. Work carefully and make sure the whole piece is smooth.
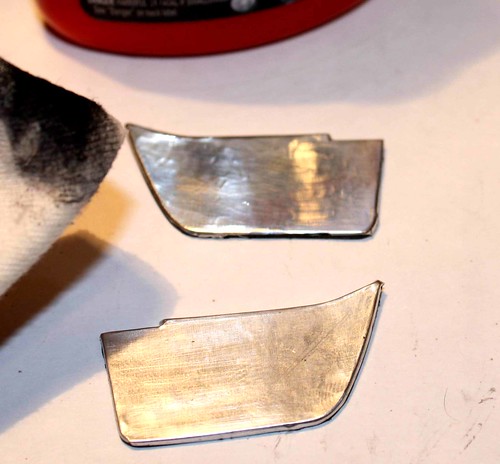
Figure 30 Using a very fine polish, rub the smoothed tape with a bit of soft, smooth cloth. This will bring the finish to a brushed polished aluminum look.
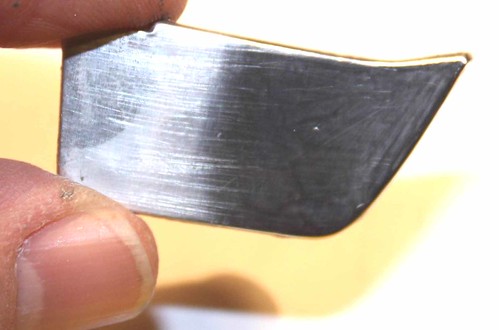
Figure 31 This will give the interior a really cool effect once completed.

Figure 32 Seat belts were created from fine line pinstripe tape. The buckles were created from small pieces of the same aluminum tape cut to size and stuck on the ends.
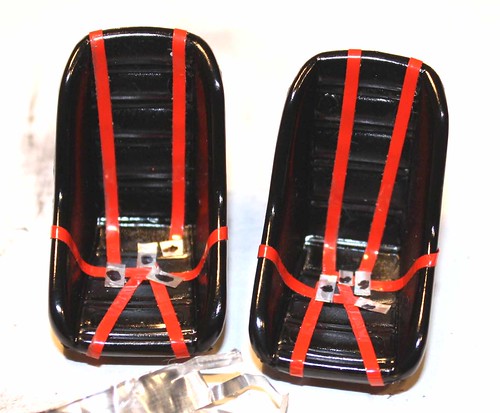
Figure 33 This is an inexpensive alternative to aftermarket buckles and belts. You could also use a fine ribbon for the belts, and even painted masking tape can work.
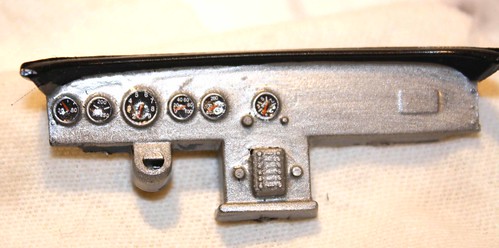
Figure 34 The dash gauges from the decal sheets were a nice bonus. Take your time and follow the direction sheet for placement.
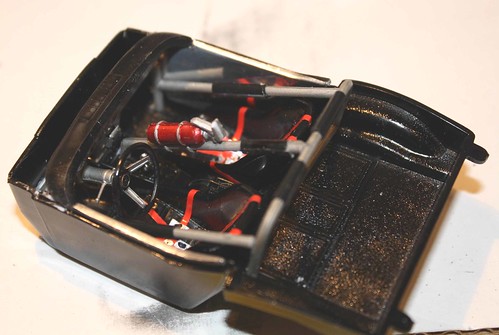
Figure 35 On the roll bars for the interior, black electrical tape was used to simulate padding. It was cut to size and rolled around the bar. The interior and the bars looked good completed, but the roll bars were a little out of scale. Evergreen® plastic rod could be used to make roll bars from scratch if a more scale look was needed. The fire extinguisher seemed a little large also. A smaller one would be better if you had one in your parts box. Everything went together well and looked pretty good.
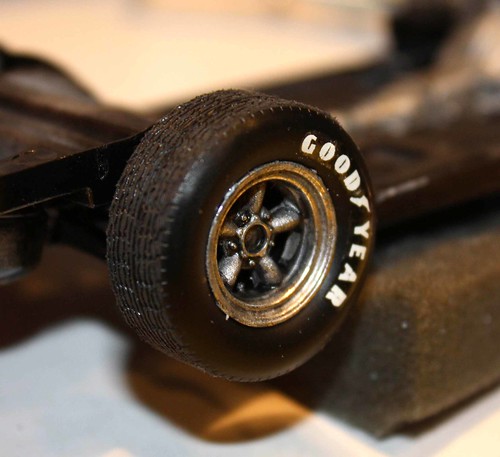
Figure 37 Instead of leaving the wheels chrome, they were painted with Testors® Steel bottle paint. They were allowed to dry, then given a wash of thinned black bottle paint. The tire treads were given a scuff with an emery board.
The Goodyear® lettering was an aftermarket set. The tires were generic with no lettering. For this build it looked better with something on them.
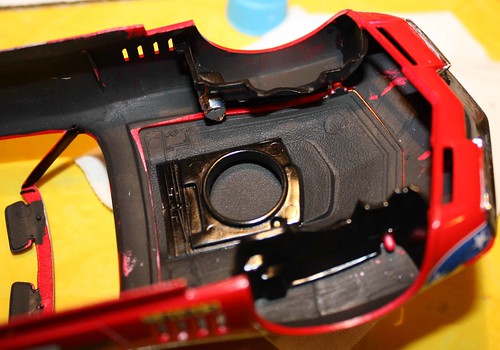
Figure 39 When assembling the body, it is a must to do step 7 of the hood first, then move on to step 7 of the inner fenders. If you don’t do it this way you won’t be able to put the hood on properly. The rest goes in the order of the direction sheet. The inner panels of the body were painted black just for visual effect.

Figure 40 The decals all went on pretty well. The hardest one was the decal going on the rear end of the car. It just wouldn’t lay down properly. Micro-Sol® and Solva-Set® were used to try to get the decal to lay down properly. A couple small cuts with a sharp blade helped. But it still did not go on very well at all. It seemed that the Micro-Sol® and Solva-Set® attacked the decal and made it wrinkle badly. Unfortunately, it never did go into place just right.  Some touch up can be done with blue paint to cover any defects. Hopefully, this won’t happen to everyone and the decals will go on smoothly and with no problems.
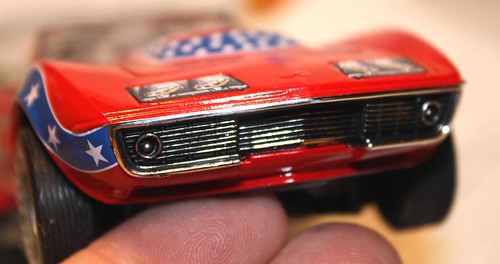
Figure 41 The front grill was given a wash of reduced black paint, the excess dabbed off with a paper touch and a light touch.
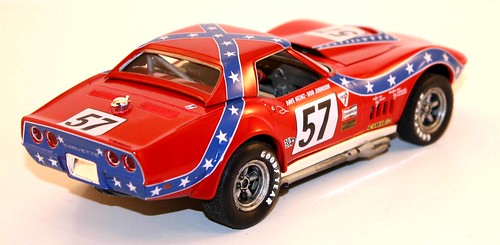
Figure 43 The body did not want to fit well to the chassis at first, but after studying to see where it was touching and working it slowly, it finally went into place perfectly. Final assembly should go as stated on the directions.
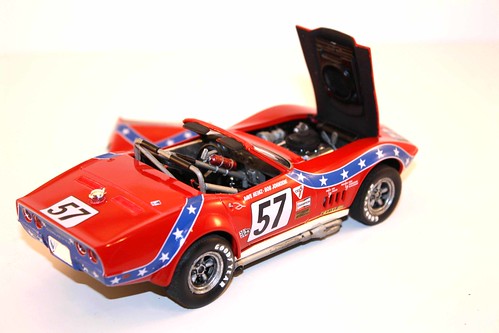
Figure 44 Overall this kit went together fairly well and without issues. Most important is to study the directions and test fit before gluing. The kit was a lot of fun and when it was finished, a great looking piece and will look good in anyone’s collection. Skill level 2 is appropriate for this kit. The decals were the hardest part. As a box stock this kit hits the mark but with a few details you can make it truly stand out. Have fun, be patient and you will be rewarded.
Keep the glue off the windshield
Tony Gibson
