Shenzhou 5 Spacecraft #01615 Scale 1:72 Review

RoR Review 20110627* – Shenzhou 5 Spacecraft #01615 Scale 1:72 Review
Review and Photos by Doug Cole 
For the modeler – this review takes a look at the lone offering for the Shenzhou spacecraft from Trumpeter in 1:72 scale. This kit appears to have been copied from yet another model of the spacecraft that was released by the Chinese around the time of the launch and may have some discrepancies from the real launch vehicle. Despite the kits relatively low part count of 83 pieces, there are some tricky construction techniques required and some design choices that make this a skill level 2+ model kit.
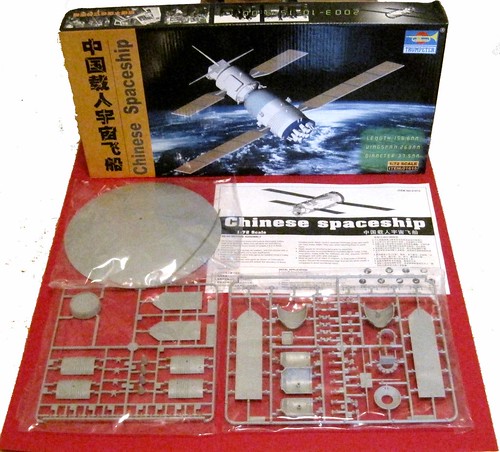
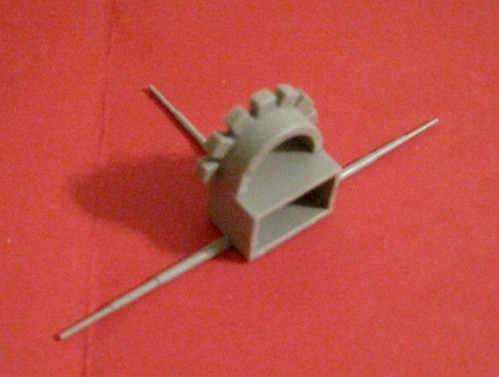
001 The kit comes attractively packaged and protected with photos of China’s first manned space flight on the side panels. The kit includes two sprues, a base and stand along with the instruction sheet.
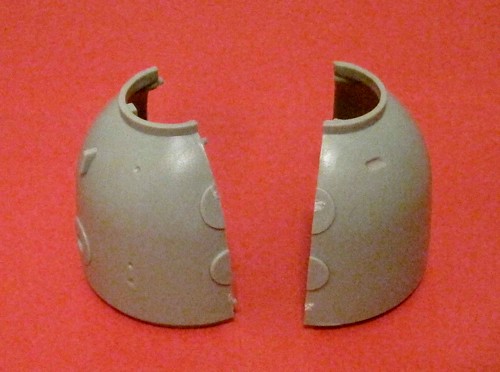
005 The easiest part to start with is the return module because it comes in just two halves. Assemble the halves together and set them aside to dry.
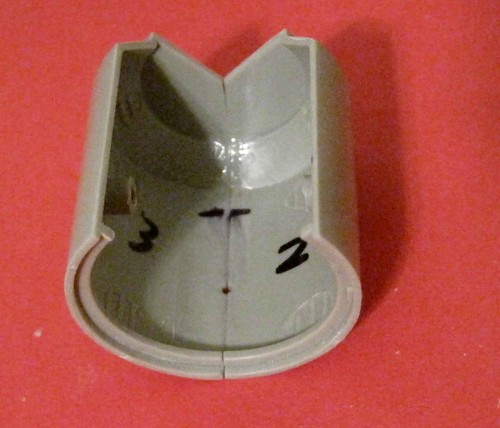
006 Number the command module parts on the inside and remove them from the sprue.
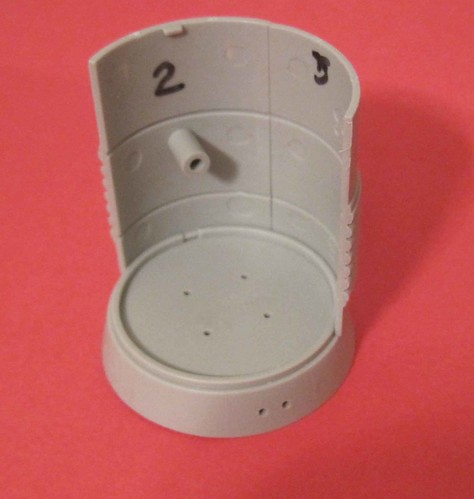
007 Place the first two parts together with some slow setting glue and match the outside seams as closely as possible. Note that part #2 has a notch that fits into the base.
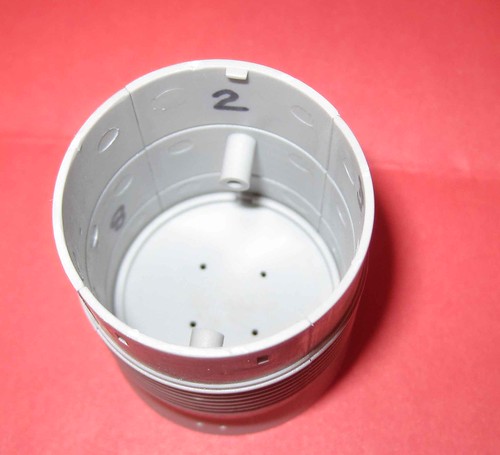
008 The completed command module should fit together well if you adjust the seam fit to ensure as good an alignment as possible.
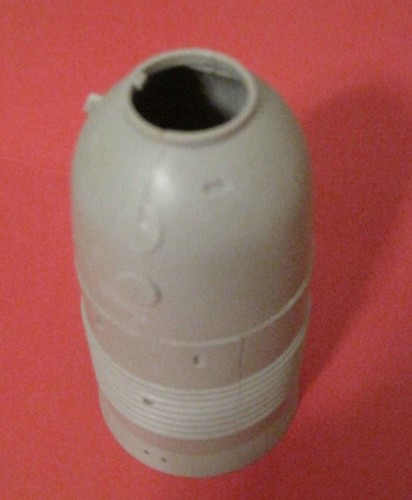
009 Assemble the re-entry module to the command module.
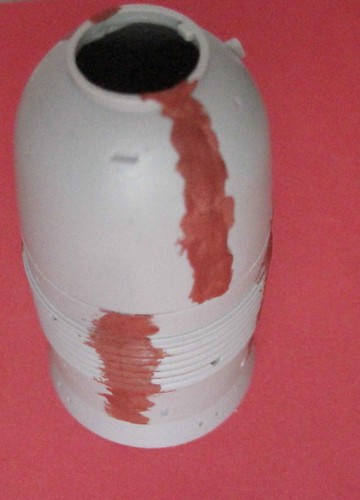
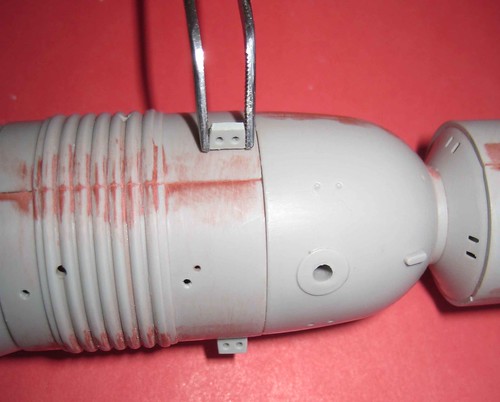
010 Seams, seams, seams! You’ll quickly find that the bane of spacecraft models are the seams. Use a putty or glazing compound (I used 3M Glazing compound here thinned with acetone) to fill the edges of the seams.
011 Assemble the payload antennae section and set it aside to dry.
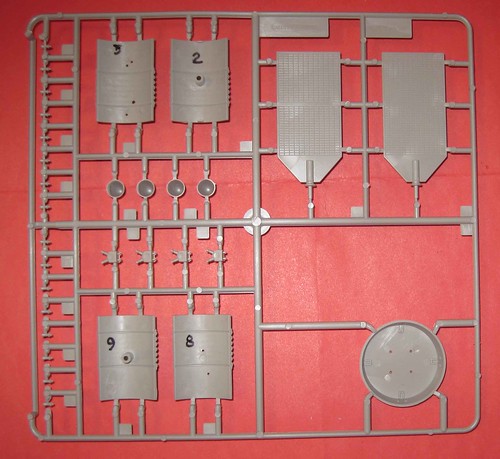
013 Number the pieces of this section before you remove them from the sprue then begin the assembly of the payload section with two of the three halves.
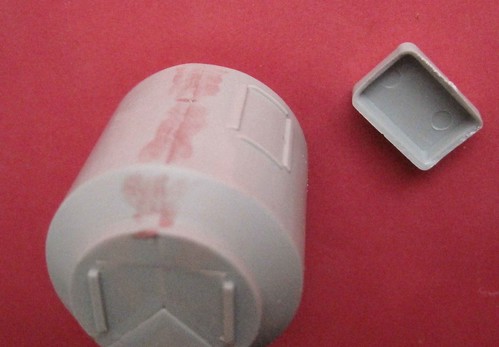
015 Complete the assembly with some slow-setting glue so that you can match up the seams. Fill them with some modeling putty and sand the seams smooth. Add the external canister shown in the photo.
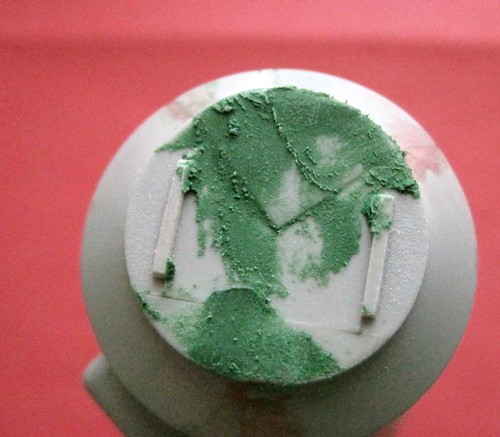
016 The top of this unit will have some seams that need to be filled in also. I used some Squadron Green putty here.
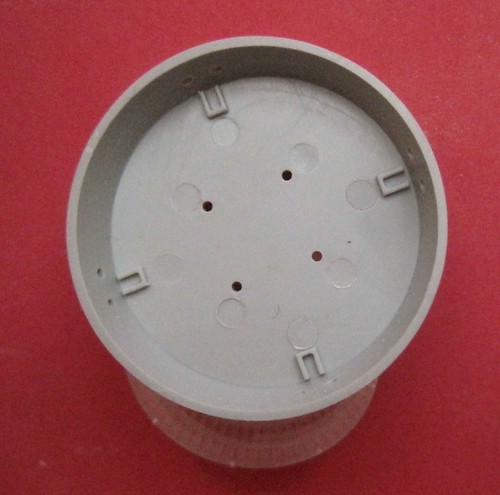
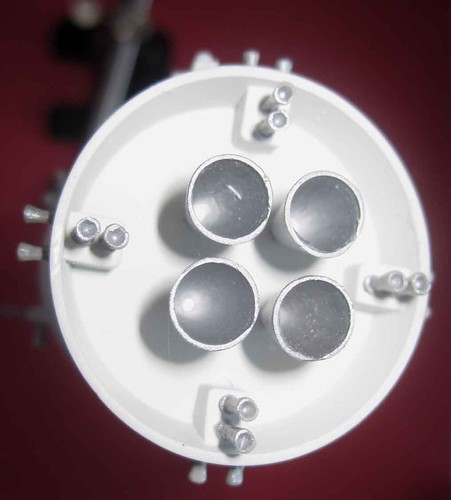
017 The bottom of the command module has quite a few pin marks from the mold process. The one nearest the rocket nozzles will be mostly covered by those units. The ones near the four holes toward the center will need to be filled and sanded smooth.
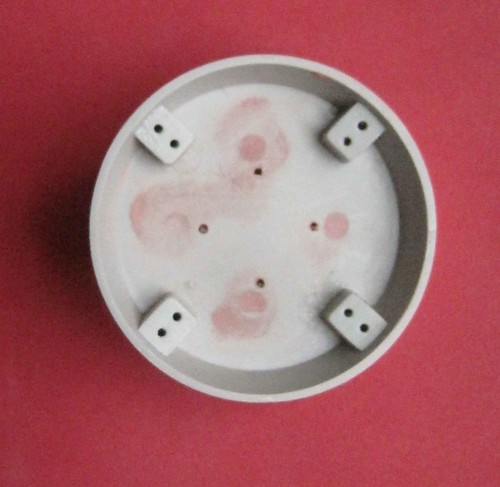
018 The pin marks are filled in this photo and the rocket motor blocks are added.
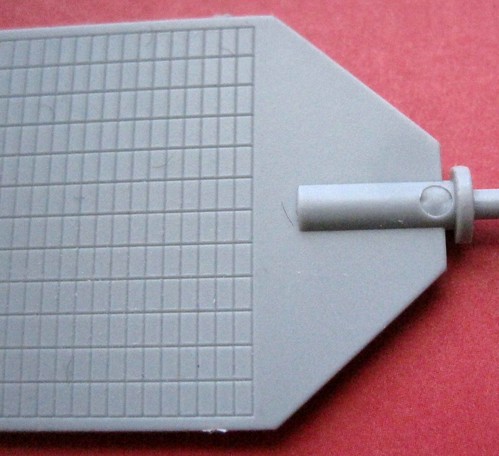
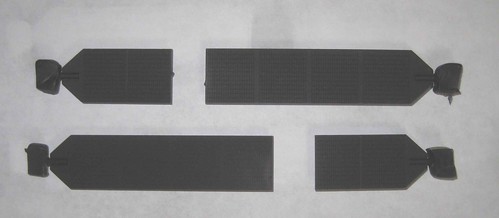
019 The solar panels have some pin marks on the mounting poles that need to be filled.
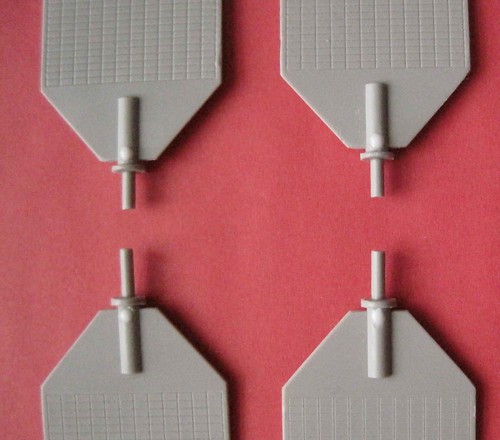
021 I added three applications of Elmer’s white glue to these pin marks to fill them in.
022 Paint the same side of these panels flat black.
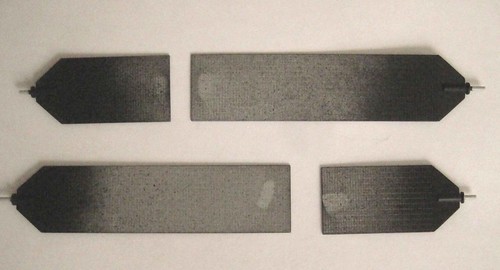
023 Paint the opposite side, at the pivot end, as well.
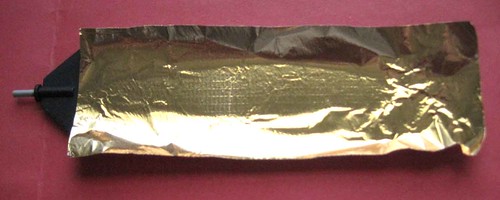
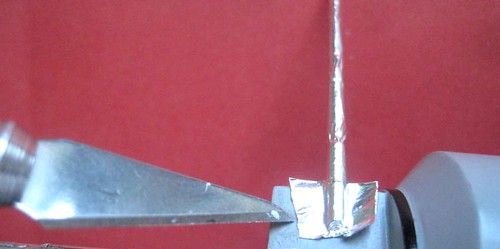
023 Apply some gold Bare Metal Foil to the panel. Wrap it around the edges and trim off the excess with a sharp hobby knife.
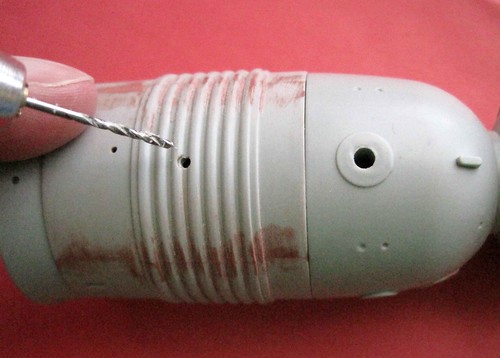
024 Some of the holes in the command module need to be enlarged to accept the external parts. The best way to determine this is to test the fit the parts and see if they need to be enlarged. The best way to do this is to use a pin vice and hobby drill bit of the appropriate size.
027 Assemble then add the external parts to the main body according to the instructions.
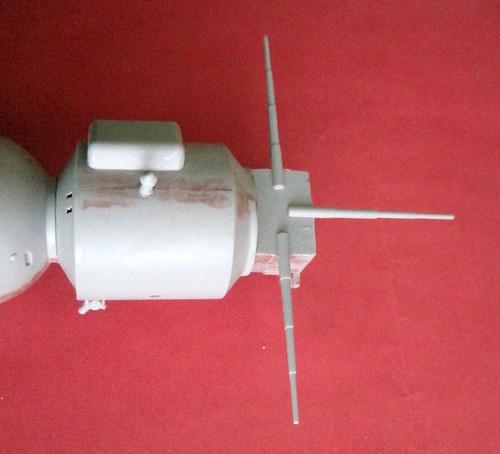
028 Add the aerial to the top of the payload section. Note that there are seams that need to be filled and sanded there also.
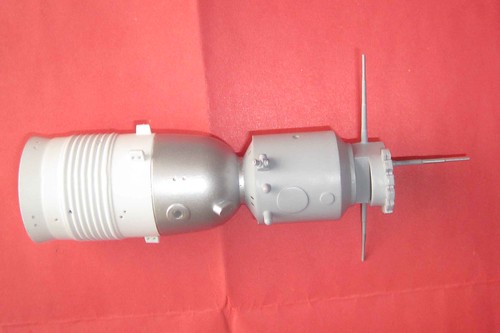
030 Here is the completed main section. The best color scheme match that I could find was flat white for the command module, silver for the reentry module and medium gray primer for the payload section. Â
031 Wrap the antennae in chrome Bare Metal Foil and trim off the rest. There is also a black stripe between the main scetions of the spacecraft. I used some 2 mm tape stripes for that (see final photo also for detail).
033 Paint the rocket nozzles silver and glue them to the main module.
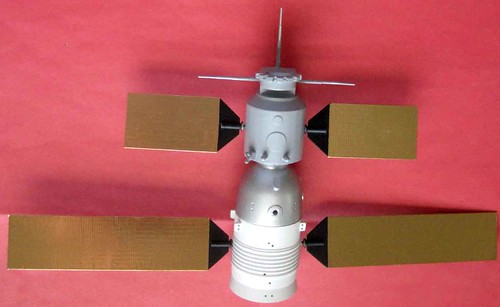
035 Here is the completed spacecraft.
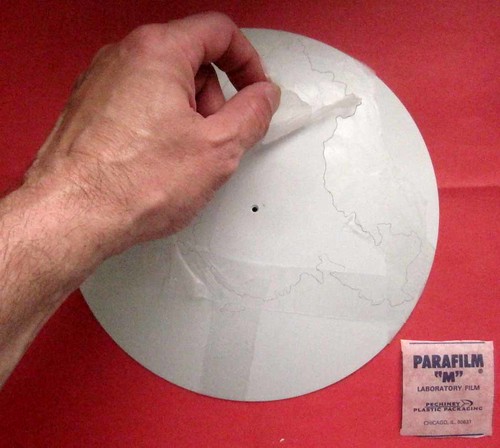
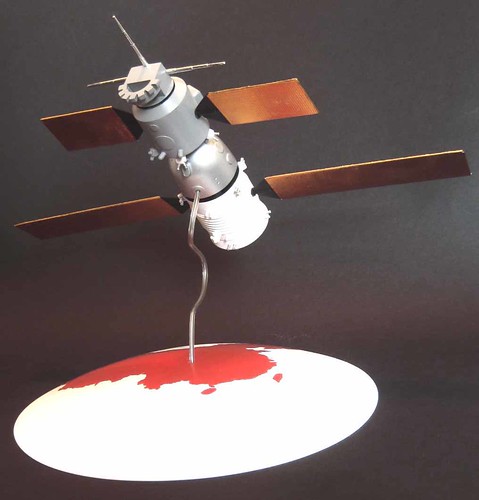
036 Paint the base flat white then use a pencil to trace the relief molded into the base and use some Parafilm M to mask off the base. Use a sharp hobby knife to follow the relief outline then peel off the tape exposing the land mass of China.
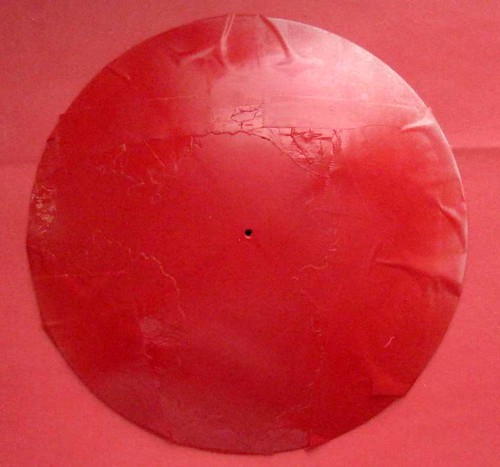
037 Use some bright red paint to highlight the Chinese mainland.
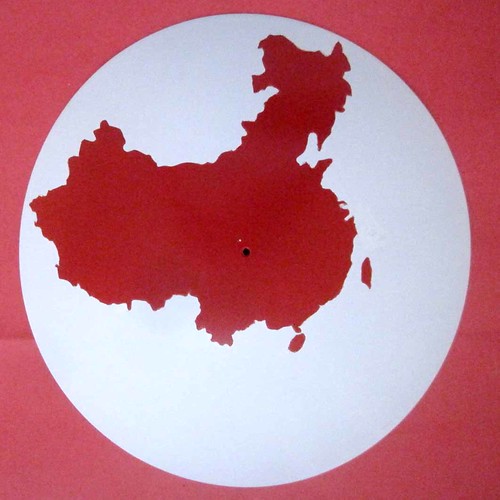
038 Peel off the Parafilm “M”tape to show the completed base highlighting the country of China.
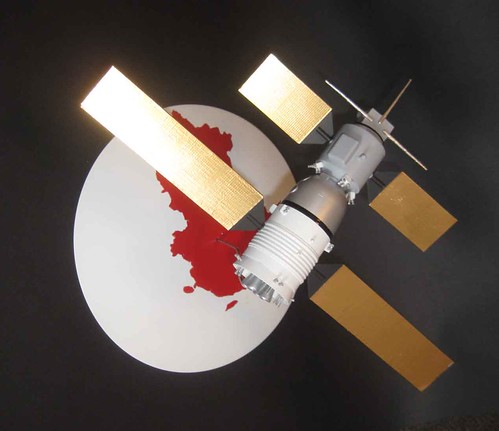
039 The completed model should look something like this!
*All Registered trademarks are the property of their respective brands.
