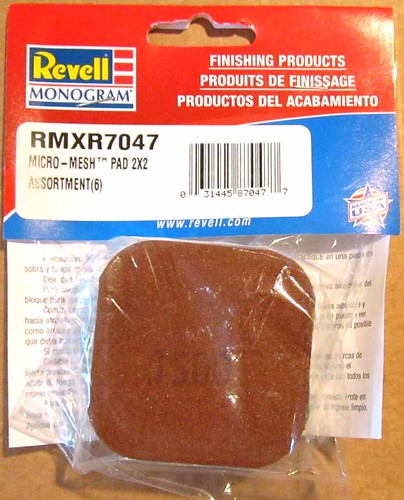
Revell-Monogram Micro-Meshâ„¢ 2×2 Sanding Pad Assortment RMXR #88-7047 Review

RoR ToolRevs 20111001* – Revell Monogram Micro-Meshâ„¢ 2×2 Sanding Pad Assortment RMXR #88-7047 Review
Â
Click Here to Buy This Tool -> Micro-Mesh Pad 2×2 Variety Pack Asst (6)
 Review and Photos by Stephen Wilder 
Tools and finishing accessories are now a part of the Revell Monogram lineup. I decided to give their sanding pad assortment a try on a recent build. This review gives a walk-through of how these little square pads can improve the finish on your next project.
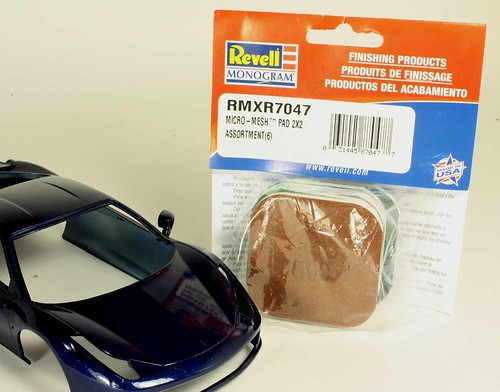
The familiar Revell Monogram combined logo has returned to the hobby as an integral part of the red-and-blue packaging of this tool line. Figure 1 shows the 2×2 pads package alongside my trial subject, a Revell Ferrari 458 Italia.
Obtaining a smooth, shiny finish can be a challenge. Some paints will have a bit of “orange peel†– a wrinkling of the surface – no matter how hard I try to prevent it. Trash and dust also have tendency to become attracted to wet, sticky paint. Sanding and polishing the surface is a sure way to get a smooth, showroom-quality finish.Â
Some preparation is required for the relatively harsh process of polishing. I prefer to use automotive paints for this process – they tend to harden faster than some hobby paints and seem to be more durable. Another key is to lay down enough coats of clear so that the polishing process doesn’t burn through the clear coat, or worse, the color or primer coats.
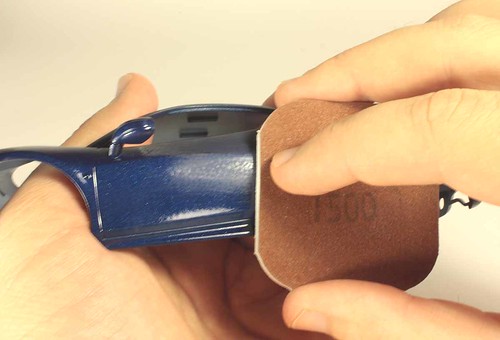
Revell’s assortment starts with 1500 grit, and gets progressively finer with 1800, 2400, 3200, 3600, and 4000 grit pads. I began with the 1500 grit, sanding in a 90° criss-cross pattern, as shown in Figure 2. After sanding, the blue finish is replaced with a dull gray. The sanding isn’t complete until this gray color is uniform, indicating that all dips and recesses in the finish have been leveled out.

Figure 3 shows the difference between the unsanded PlastiKote finish on the left and the sanded finish on the right. Note how the finish is dull, but level after sanding. After each grit, I rinsed off the sanding residue with a wet towel. I then moved onto the next finer grit, working in the same criss-cross pattern. This process was continued through all 6 grits, until the entire car was sanded down.
(Note: I chose to dry sand my car, as I found it easier to monitor progress and prevent burn through. These pads can be used for wet sanding as well.)
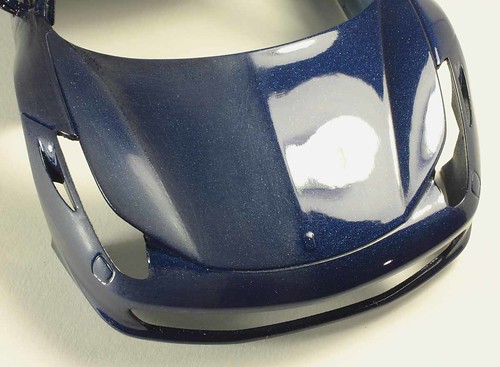
After sanding, the car is still dull. Restoring the shine requires polishing, which is where the benefits of the sanding process really show through. I used Meguiar’s Ultimate Compound, followed by Meguiar’s Swirl X and their Ultimate Polish. The results of this work are shown in Figure 5, where the sanded bonnet is shown on the left, with the polished, final finish on the right.Â
Overall, it took about four hours to sand and polish my Ferrari 458. The process isn’t complicated, and a car can be done in a few evenings while watching reruns on TV.Â
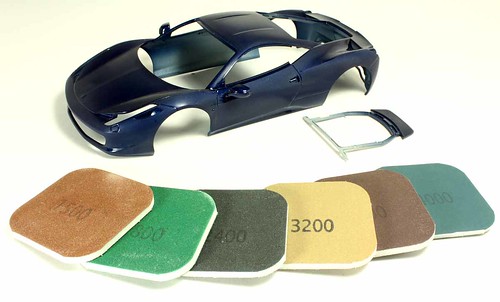
Fig 4
I found these sanding pads very easy to work with. I previously used 2000 grit sandpaper and had some issues with burn through and not keeping the finish level. The foam inner core of these pads helped prevent both of those problems while still being flexible enough to conform to the compound curves of the Ferrari. I’ll definitely use these again on future projects! Â
*All Registered trademarks are the property of their respective brands.
Â
