RoR Review 20100715 – Revell MiG 25 Foxbat 1:48 scale #85-5860

RoR Review 20100715 – Revell MiG 25 Foxbat 1:48 scale #85-5860
Model and photos by Brian Francis
     My sample had some flash on the parts, but Revell packaging has sure improved over the years. The sprues were bagged (no missing parts) and the clear sprue was separately bagged for protection. The instructions were simple and clear. The decals looked very useable and even featured a non-Soviet/Russian plane (Indian Air Force).Â
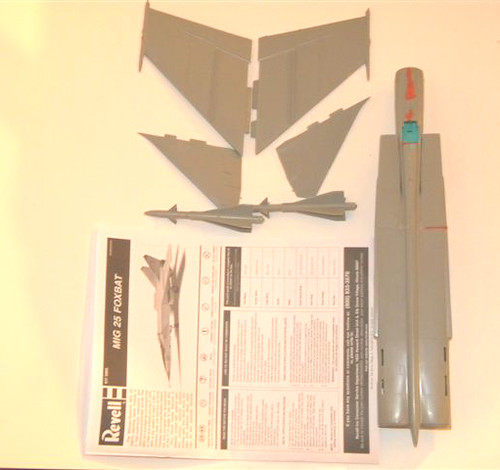
Figure 1
    I did not start with cockpit. I started by looking for sub-assemblies. The after fuselage was put together with some sheet styrene re-enforcement. The wings and missiles were assembled. The missiles need some help. The nose cone was assembled as well as the main wheels and nose wheels.  Suspecting this would be a massive tail sitter–I epoxied lead fishing sinkers into the nose area (both the nose cone and forward of the cockpit).

Figure 2
    I painted the cockpit with (an awful) color green (vernigras) per an on line review. I left out the control stick and ejection sheet (need to paint other colors)–installed later. I did cut out the decal for the instrument panel and installed it. I glued the forward fuselage together and then glued it to the rear fuselage box. It will need some filling here & there.  I did my best to carefully fit the fuselage pieces together to eliminate gaps. I still ended up with some. I filled some of the larger with putty–careful to remove the excess with q-tip dipped in nail polish remover. This is going to be a big model for 1/48 single seater.

Figure 3
    Most of my sub-assemblies are ready to add. I use Tenax or another liquid glue such as Plastruct for an adhesive. I joined the forward nose section the after fuselage box. I put the wings, ventral fins and tail planes and twin tail fins on the fuselage. The wings needed a little clean up on the seams. The missiles need some filler where the vanes go thru the body. The tail stabilizers and ventral vanes need some clean up on mold lines. Â
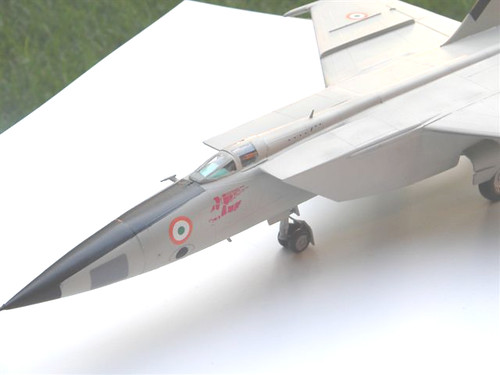
Figure 5
    The landing gear is quite sturdy (as you would expect from an aircraft this large).  There are no locating holes for the main gear. They fit into a slip/butt joint in the wheel wells. No need to worry about stability/strength–plenty of gluing surface because of the kit design. I added the gear doors for the main and nose wheels at this time.
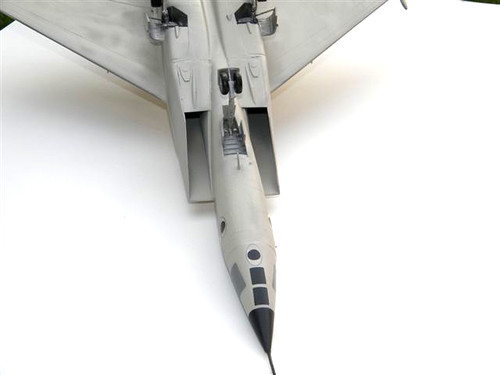
Figure 6
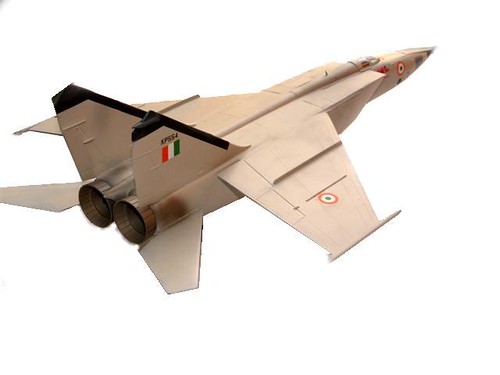
    In researching the kit further, I decided to my model as a MiG 25 RB Foxbat. This is the Indian Air Force version included in the kit decals. The RB version is actually a reconnaissance version. The Indian Air Force operated a squadron of Foxbats for long range reconnaissance against Pakistan from the mid ’80s thru early ’90’s.  This version (as per reference photos) did not carry the huge missiles or missile pylons included in the kit. I filled the holes in the wings that the pylons would have fit into with Evergreen rod/putty
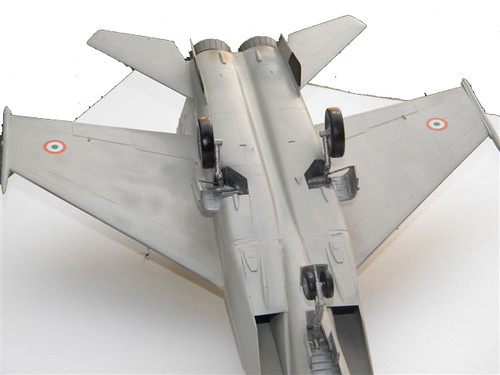
Figure 7
    The primary color of MiG 25 RB from the instructions is Gull Gray. I found an unopened bottle of Aeromaster Dark Gull Gray from my dwindling hoard of that brand. I masked the canopy parts (the framing was not very well defined). I glued the canopy and windscreen to the fuselage. The directions are a little confusing on painting the anti-glare panel on the upper nose and the nose cone. Actually I found a picture of the plane in the Revell 2010 catalog of this model that clears up how the black paint is painted–too late for my model. I also painted black the leading sections of the tail fins (some kind of de-icers?).
     Most of my bottle of Gull Gray went to paint the model. After the initial coat, I smoothed out the join areas around the canopy with white glue and a wet q-tip to smooth out the join line.  Then some spot painting to touch up a couple areas.  hand painted. Per instructions, the wheel wells are silver and the gear legs white. I now touched these up. The wheels were previously painted as part of the sub assembly process and added to model.
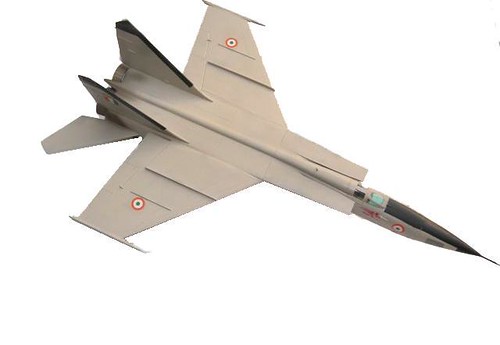
     As I indicated, this release of the MiG 25 includes an option for an Indian Air Force reconnaissance version.  The camera lens in the nose is represented by decals.  The wing and fuselage roundels were in register. I found the decals to be very user friendly.  They released easily, reacted well to setting solution, and lay down quite easily.  I had gloss coated the model, put on the decals and then dull coated the model with Testors Dull Cote from the spray can.  I did a little weathering with jet exhaust paint on the tail nozzles and the immediate area.
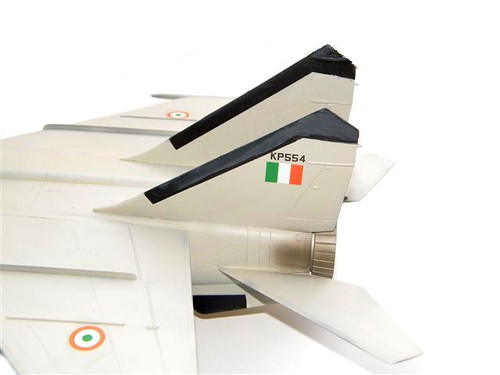
Figure 8
     The last step was to attach the painted wheels with superglue to the main gear legs and nose gear with superglue. Â
     This re-release of the MiG 25 builds into a very acceptable replica. With TLC and skill, the plane can be built into a show stopper.
