RoR Review 20110205 – Tom Daniel’s T’rantula 85-4298

RoR Review 20110205 – Tom Daniel’s T’rantula 85-4298
Review and Photos by Aaron Gibson
#1
For the modeler – this was a great kit. The pieces fit well for the most part, but a little tweaking is always needed. There is lots of room for detailing. There are tips in the full review to help avoid some pitfalls and some special paint finishing tips. There is also a link to the Revell parts replacement web page to help if you are missing parts from your kit. Some alterations were done in this build but this was only because of the builder’s choice. This is a level 2 kit and that is accurate. It’s a great build for a younger modeler or a new modeler.
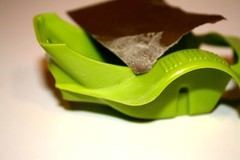
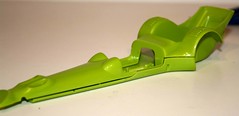
#2, 3
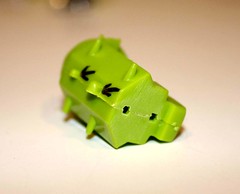
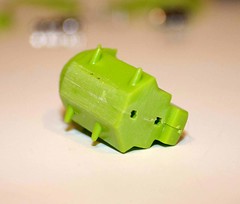
The body was cut from the tree. It was fairly clean, very few mold lines or flashing.
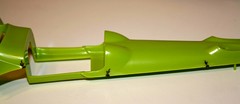
#4, 5
There was a little clean up to do on the body from the mold lines and where it was connected to the tree.
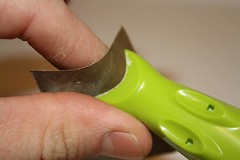
#7, 8
An emery board was used to take off bits of the tree from the edges. A final sanding was given to the edges and the mold lines with 600 grit sandpaper.
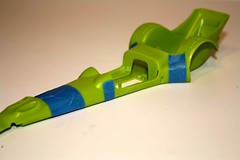
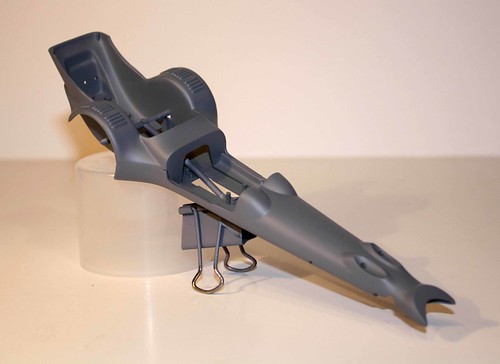
#11, 12
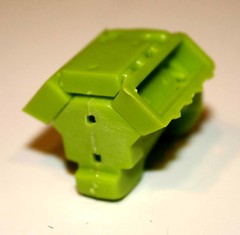
Before painting, glue the body together. Do not glue the roof on (you won’t be able to get the interior tub in if you do). They did not fit snugly. The seams were glued and then held together with tape. After drying the tape was removed. This kept the seams a little tighter.
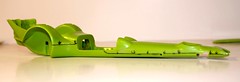
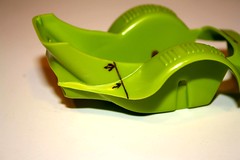
#25, 26
After the glue was dry and the tape removed, the seams need to be sanded a little to make the body smoother. Once again, an emery board was used and then fine sandpaper.
#34
The entire body and roof was given a coat of Duplicolorâ„¢ primer/sealer.
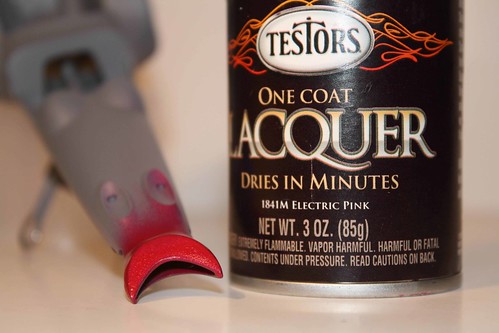
#35
The end of the nose of the body was given a coat of Testors™ Electric Pink. After the pink was dry, a little blue painters tape was used to tape this off. A 600 grit sandpaper was used to sand the pink over spray off so it wouldn’t bleed through the final coat.

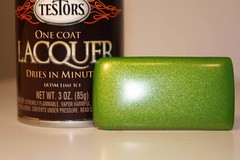
#46, 52
The body and all exterior pieces were given 2 light, even coats of Testorsâ„¢ Lime Ice. This kind of paint seems to spray heavier, so light coats are really needed.
#14
The engine block was a 2 piece assembly. After gluing use a clip or tape to get a tighter fit between the pieces.

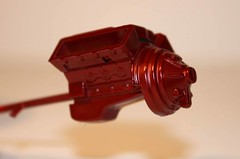
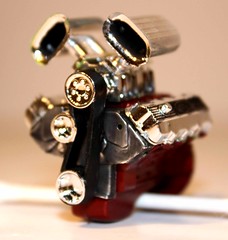
#15, 16, 17, 18
There are two “pegs†on the engine block that are supposed to make a better fit for the intake. When test fit, it seemed that they didn’t work as they were supposed to. The pegs were removed with clippers and sanded with an emery board to make the piece smooth. Then, the heads were put onto the blocked followed by the intake. Pay attention to the directions, but the parts kind of tell you where they should go and how. This is a point where mocking things up is most important to check fit.

#19, 20
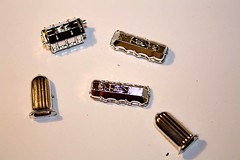
The chrome parts for the engine were very clean. To give them a more realistic look they were given a wash of thinned flat black brush paint. Dab on a little thinned paint, let it run into the low spots, then dab off the excess. Let the pieces dry completely before proceeding.

#22
The air scoops are multiple pieces to assemble. The chrome from adjoining edges needs to be scraped and smoothed before putting together. In the photo, the scoop on the left has been assembled only. The right scoop has had the inside painted with flat black brush paint to give it a deeper look.
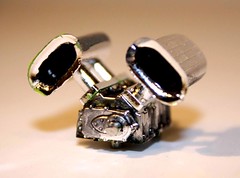
#23, 24
Part 17, belt and pulley, is all chrome. Belts are not chrome. A little black brush paint on the belt portion makes it more realistic and looks much better
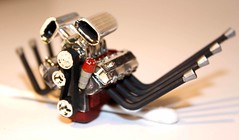
#36, 40, 42, 43
The engine assembly went together very easily and the directions were straight forward. Pay attention to the direction pieces go on there should be no problem. Any adhesion point that has chrome on it needs to have the chrome scraped off. This engine could very easily be more detailed with wiring, hosing and other bits.
#31, 33
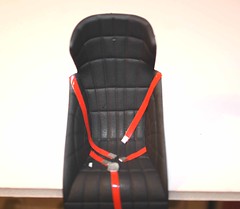
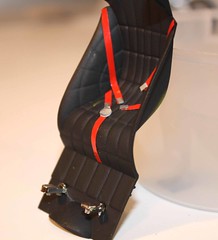
The seat tub was very nice but didn’t have much detail to it. It was spray painted flat black. Seat belts were made of thin red pin striping tape. A little experimenting with different materials will bring different results, but it’s a nice easy detail.
#30, 32
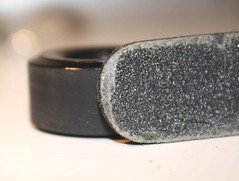
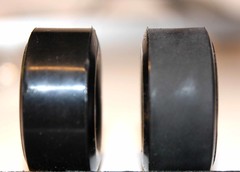
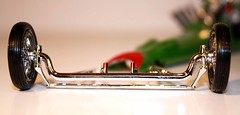
The tires are once piece and are very nice. They were sanded with an emery board to give a more realistic effect. This is another nice detail that’s easy and takes just a couple minutes.
#44, 45
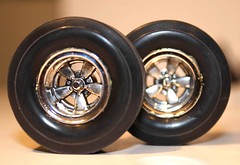
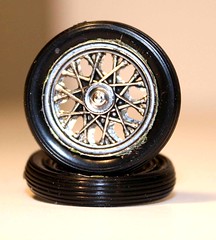
The wheels were given a wash of thinned black paint (exactly as the chrome engine parts were done), then assembled to the tires. The back tires/wheels were easy. The fronts were a little harder because the wheels are 2 piece and the tires are thinner. Take your time, scrape your chrome well and test fit everything.
#49, 50, 51
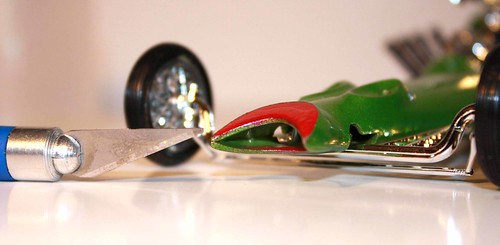
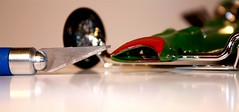
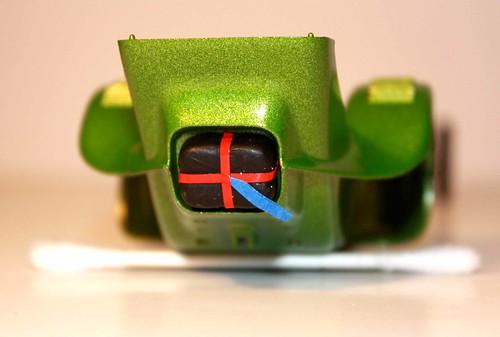
Assembly of the front suspension was easy. After mocking the suspension to the body, the body seemed a bit too high. The pegs on the suspension (marked in red) were what gave the body its ride height. These were cut down just a little which brought the body down lower. The front and rear assembly were then completed without any problems. Final assembly was also done. The most difficult part was getting the windshield to fit the roofline. Be patient, take your time and don’t use a lot of glue or you’ll make a big mess on the paint and windshield.
#53
When the kit was opened there was only 1 headlight (part 35) when there should be 2. If this happens to you, dig through your parts box and find some nice, small, round headlights to use or go to the Revell web site and order replacements. On this kit, no lights (part 36) were put on. Solid round Evergreen™ was sanded to a point, cut to length and glued over top of the holes for the headlights. Piece 37 (“T†radiator gas tank) wasn’t used either. It was in the kit but not used, this was strictly builder preference.
#54
The parachute had 2 options, closed or open chute. For this build, the closed chute was used. To give a little more detail, red pin striping tape was used to simulate the straps holding it in place.
#57
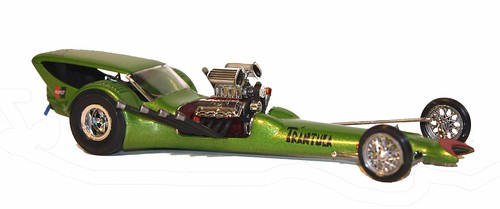
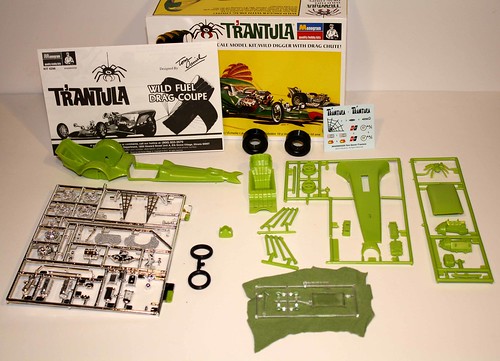
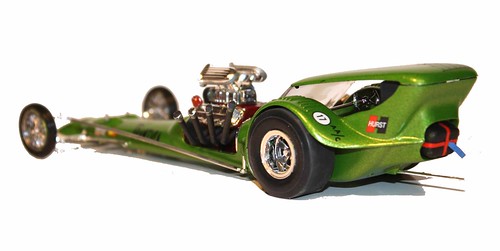
This was a great kit. The pieces fit well for the most part, but a little tweaking is always needed. There is lots of room for detailing. This is a Tom Daniels kit and was made to look like the actual car. Some alterations were done but this was only because of the builder’s choice. Total time for this build was 24 hours (including paint time) over several days. This is a level 2 kit and that is accurate. Monogram T’rantula 1/24 scale. 66 pieces and decal sheet with 11 decals. It’s a great build for a younger modeler or a new modeler. If you like the Tom Daniels cars, you’ll love this one too.
