RoR Review 20110218 – 1971 Plymouth® GTX 85-2166

RoR Review 20110218 – 1971 Plymouth® GTX 85-2166
Review and Photos by Lonnie Dyer
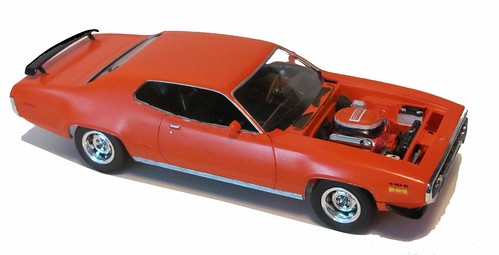
The 1971 Plymouth® GTX (Grand Turismo LuXury) shown here in car show mode (hood off for viewing) was supposed to ring in Plymouth’s® new age of the muscle car However, The GTX as a model name ended with this version. From ’72 to ’75 GTX become an option package for the Road Runner. The creation of the EPA and the oil crisis of the early ’70’s proved to be the death knell of muscle cars (Pic 496).
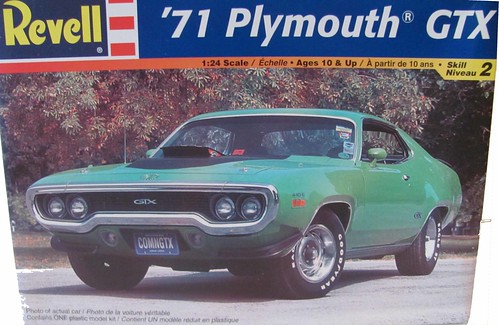
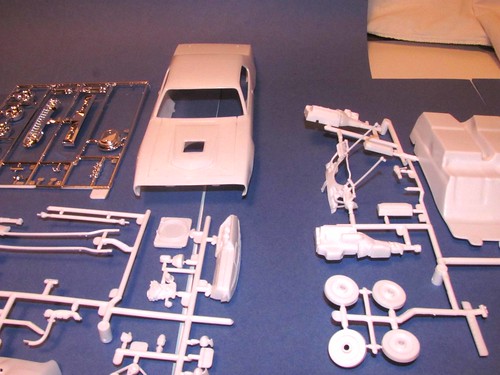
For the modeler this Revell® kit is a skill level 2 kit and while the assembly is pretty straightforward the decals are tricky for the novice. There is a good deal of detail in the suspension systems (front and rear) but engine details are lacking. The body details are excellent. Still the kit is a joy to build and ends up as a very nice display piece for modelers and especially Mopar® fans. This kit comes in the 440 six-pack version containing 57 parts and a decal sheet. Some ease of assembly procedures are explained in detail to help construction go more easily in the Step-by-Step review (Pic 452).
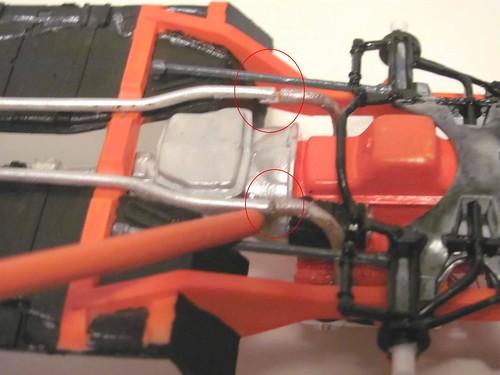
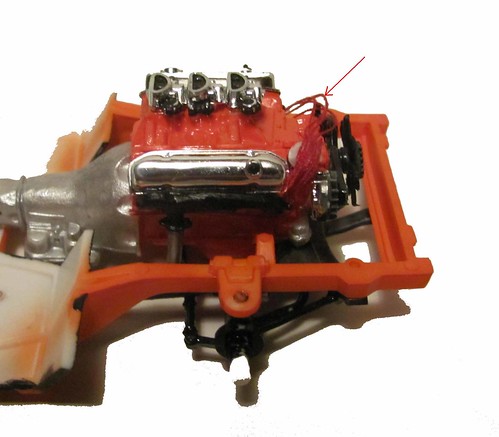
The engine assembles easily with just a little glue and minor filing, but I did discover that it would be best to install the exhaust manifolds (parts 23 & 24) to the engine only after installing the rear suspension assembly and mounting the engine to the chassis, in order to align the manifold pipes properly to the exhaust pipes (pic 481).
Red thread was used to make spark plug wires from the distributor cap to a spot where the plugs would be under the exhaust manifolds (pic 477).
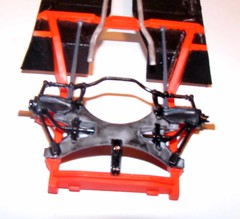
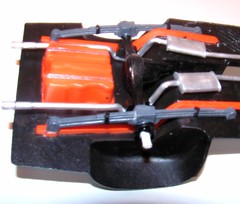
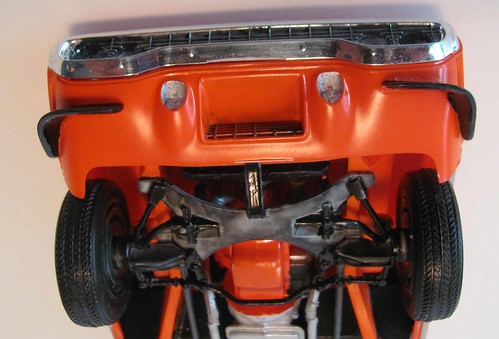
Front and rear suspensions attach very easy also and with a little detail painting adds a good look to the model. (pics 472 & 470)
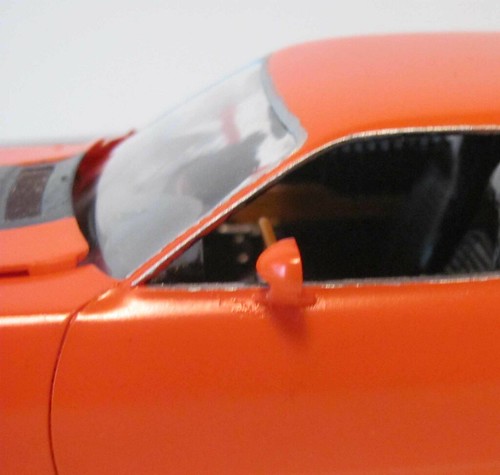
When installing the side view mirrors be advised there are NO alignment marks on the body (Pic 492) for them so you will have to test fit a few times to see where they sit best.
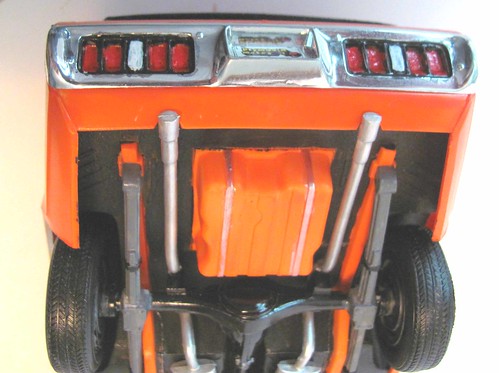
Attaching the body was a little painful if you follow the directions and install the rear body skirt (part #2) prior to mounting the body to the chassis. Spreading the body apart breaks the bond of these two parts so I recommend installing the rear skirt and bumper (part#3) after mounting the body to the chassis (Pic 499).
Finally, the decals leave a lot to be desired. The ones for the hood were cut too big and would not smooth out. The side markers were one piece and large so I painted the area with flat white and then yellow (front) (Pic 489) and rear  (Pic 498).
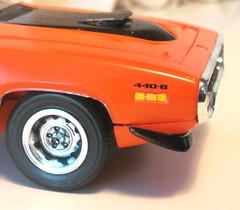
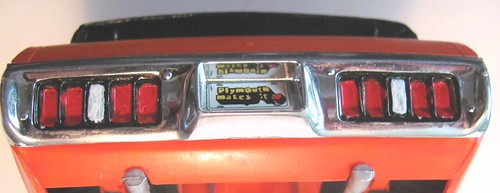
The decals for the taillights in the rear bumper were also too big and too brittle; they broke easily trying to position them so I removed them and painted all the lights on the car (Pic 505). The only decals that worked were the 440+6 for the fenders, and the one for the air cleaner.
Finishing Tips-
 Paint the chrome trim around windows and wheel wells after you clear coat the model to avoid getting fingerprints on it from handling.
A custom “hugger orange color” was used for this model made by mixing a Testors® craft paint orange with Testors® red to get the shade I wanted. Although the black stripe on the hood and the chin whiskers are normally flat black I painted them semi-gloss black to match the orange body color (Pic 500).
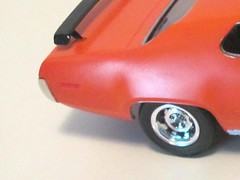
A thin black wash on the wheels brings out the details and shows the lug holes in the ralleye wheels off nicely (Pic 489a).

 Overall, this is a nice kit and reminds you of those muscle car glory days in a flash!
