Soviet Aerosan RF-8/GAZ-98 1/35 Trumpeter #02322 Review

RoR Step-by-Step Review 20120106* – Soviet Aerosan RF-8/GAZ-98 1/35 Trumpeter #02322 Review
Click Here to Buy This Kit

Â
Review and Photos by Pat Ackerson 
Â
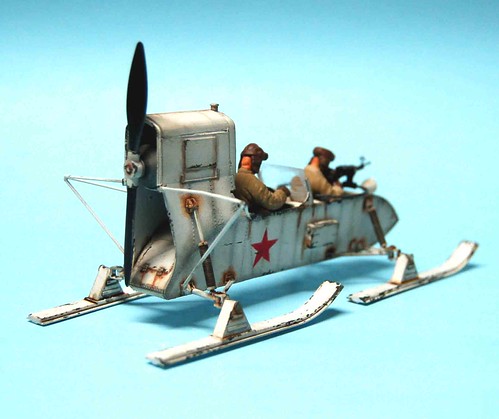
The Soviet Aerosan RF-8/GAZ-98 was a propeller-powered snowmobile used by the Soviet Union during the Second World War. Running on skis and powered by an automotive engine, this unusual vehicle carried a crew of two soldiers and was armed with a 7.62mm machine gun. The Aerosan was primarily used for communications, mail deliveries, medical aid, emergency recovery and border patrolling in northern Russia. Combat loaded, the Aerosan weighed 0.892 tons and was capable of speeds up to 30 mph. The GAZ-98K was a version with a more powerful GAZ M-11 110-hp aviation engine in place of the standard automotive engine.
Â
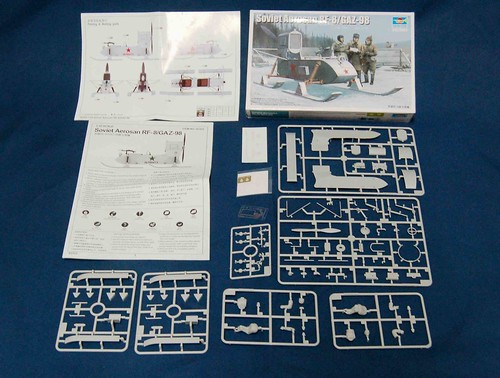
Fig 1) – Trumpeters 1/35th scale Aerosan RF-8/GAZ-98 consists of 77 light gray injection molded pieces, two clear parts and two photo etched machine gun sights. Additionally included are the kit instructions, color painting guide and one set of water slide decals. Generally, Trumpeter has done a fine job with this kit. Parts are finely cast with little to no molding flash, seam lines or defects. By and large, parts fit together well enough throughout the entire build with the exception of the crew figures. The figures required special attention in order to get them to seat right in the vehicle for a convincing, natural appearance.
Â
Â
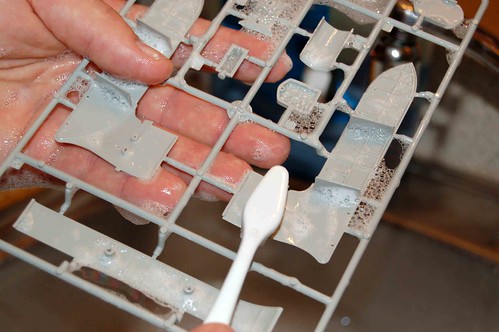
Fig 2) – First and foremost, review the kit instructions and identify all the parts prior to assembly. Next, wash all the parts in warm soapy water them set them aside to dry.
Â
Â
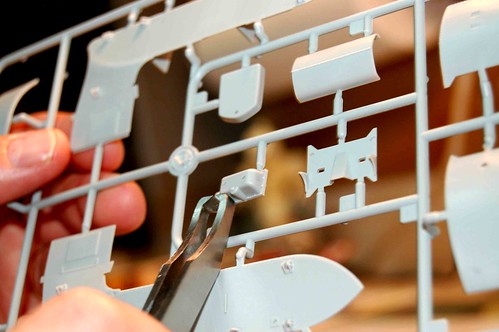
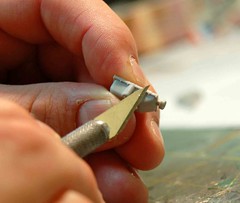
Fig 3) – First, parts were identified and then removed from the sprue using a tweezer-like sprue cutter. Then, using a sharp hobby knife I removed any leftover plastic. Next, the parts were glued together using super glue and then painted in accordance with the painting instructions. This assembly process was used throughout the entire build.
Â
 Â
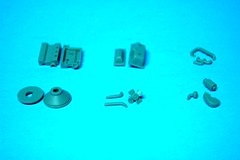
Figs 4 & 5) – Step 1, engine assembly. The engine consists of 14 parts and there were no hang-ups or snags in its assembly.
Â
 Â
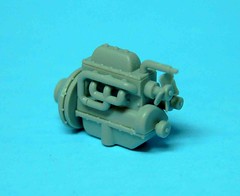
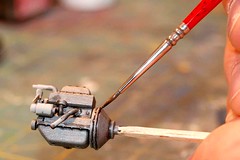
Fig 6 & 14) – Once I had the engine assembled I airbrushed it with Model Master Oiled Steel and then picked out the details, hoses and fan blades with Model Master Flat Black. Once I had the engine complete, I set it aside and moved on to step 2.
Â
Â
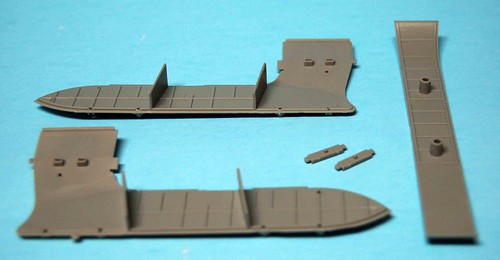
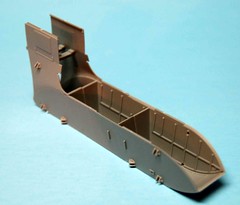
Fig 7) – Step 2; hull assembly. This step consists of assembling the hull halves and lower hull. Once I had the hull assembled I airbrushed it with Model Master flat White.
Â
Â
 Â
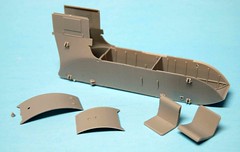
Figs 8 & 9) – Step 3, hull assembly continued.
Â
Â
Â
Figs 12 & 13) – Next, the seats and inner hull were painted Humbrol flat Khaki prior to installation.
Â
Â
Â
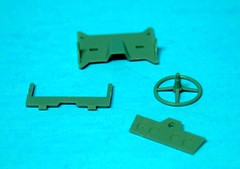
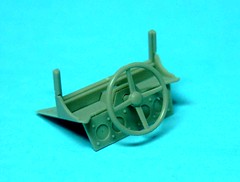
Figs 10 & 11) – I then turned my attention to the dashboard assembly. Be sure to leave out the transparent window until all painting and assembly are complete. Of note, a minor drawback to the dashboard; there are no gauge decals included in the kit, so the builder could possibly use some type of automobile gauges from a car kit. Finally, I installed the seats, dashboard and engine before moving on to Step 4.
Â
Â
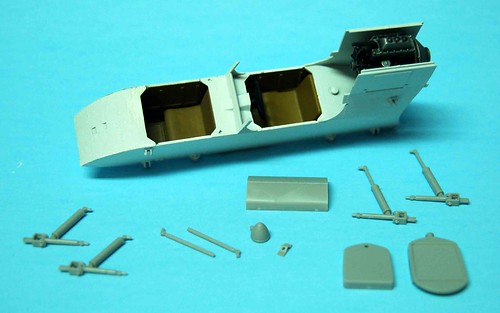
Fig 15) – Step 4, hull assembly cont. Next, I painted and attached the radiator, shocks, headlight and engine cover. Just like the windshield, leave the headlight lens out until final assembly.
Â
Â
Â
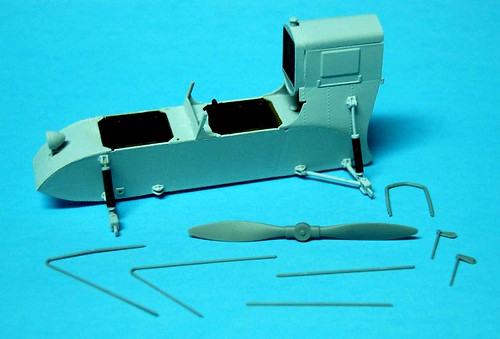
Fig 16) – Step 5 & 6, prop and ski assembly. Next, I painted and assembled the propeller components. The kit instructions call for the installation of the machine gun at this point but leave off until installation of the crew figures.
Â
Â
Â
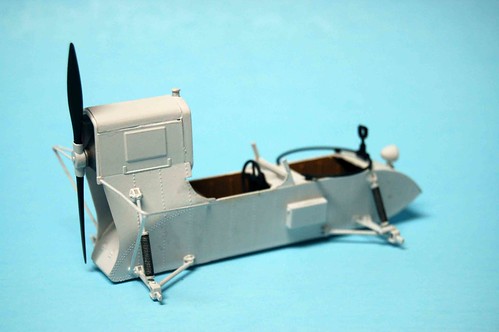
Fig 17) – The painted hull and prop assembly.
Â
Â
Â
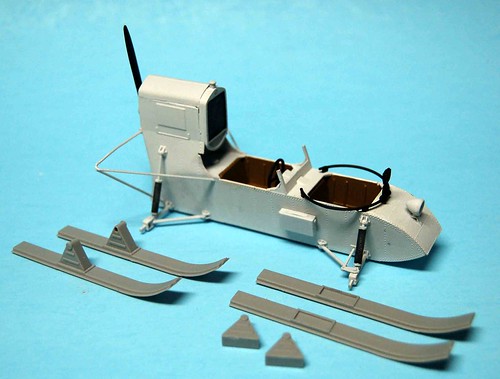
Fig 18) – Finally, paint and attach the ski’s.
Â
Â
Â
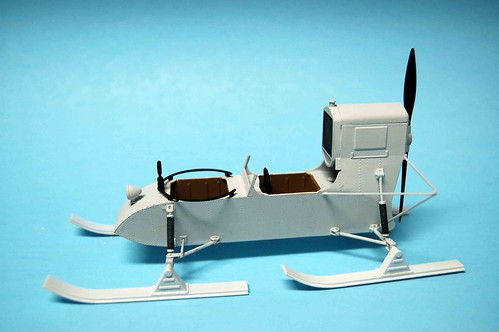
Fig 19) – Here is the completed Aerosan prior to adding the decals, weathering and installation of the crew figures. At this point the entire model was given a liberal coating of Testors Dull Coat.
Â
Â
Â
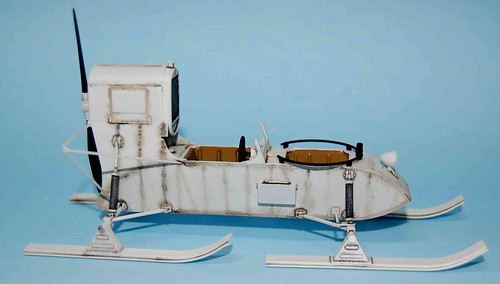
Fig 20) – At this point you can began weathering the model. First, I mixed up a wash of thinned black artist oils and applied a pin wash to all the rivets, seams, cracks and crevasses with a size 0 paint brush. The wash was allowed to dry for several days before applying the decals. Of note; the decals are very thin! The first decal I attempted to apply to the model fell apart in the water dish and unfortunately, I was only able to recover the red star for use on the model.
Â
Â
Â
Fig 21) – Of note; the decals are very thin! The first decal I attempted to apply to the model fell apart in the water dish and unfortunately, I was only able to recover the red star for use on the model. It would be wise to spray these decals with a thin coat of fixative or dull coat prior to use.
Â
Â
Â
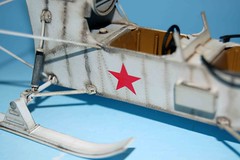
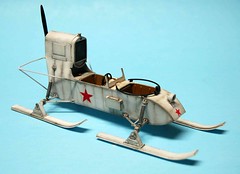
Fig 22 & 23) – Once I had the decal in place it was coated with Micro Set and Micro Sol decal setting solution.
Â
Â
Â
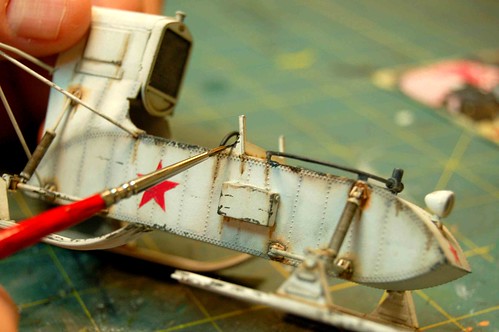
Fig 24) – Next, using Humbrol flat Gray and a wide flat brush I dry brushed the entire model. I then simulated chipping and scratches in the paint using Humbrol Panzer Gray and a size 0 brush. Rust, oil and grime streaks were simulated with thinned black and burnt sienna artist oils. Once dry, the model was again coated with Testors Dull Coat.
Â
Â
Â
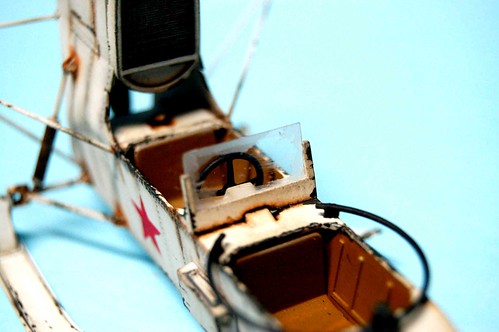
Fig 25) – Finally, I installed the windshield and headlight lens. To make the windshield look frosted over make an irregular shape mask with masking tape. Apply the mask to areas of the windshield that the driver would need to scrape ice off of and then coat the windshield with Dull Coat.
Â
Â
Â
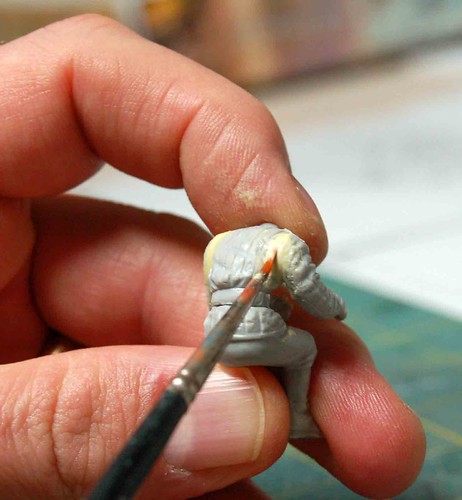
Fig 26) – Once I had all the weathering complete I turned my attention to the crew figures. Here the builder will run into problems getting the figures to properly sit into the model resulting in the driver’s hands not properly gripping the steering wheel and the gunner’s hands not properly gripping the machine gun. To overcome this, I placed the figures into their seats and then super glued their arms in place. This resulted in large gaps between the torso and arm. To correct that, I used standard grade Milliput modeling putty to fill the gaps smoothed out with a moistened paint brush.
Â
Â
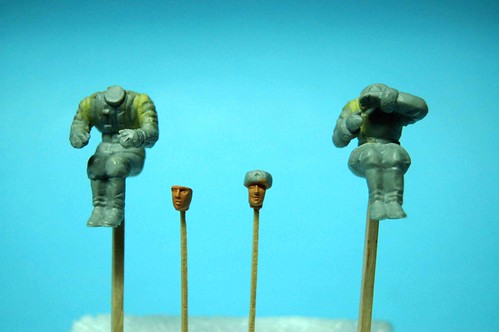
Fig 27) – Next, I attached the figures to tooth picks for finger free painting.
Â
Â
Â
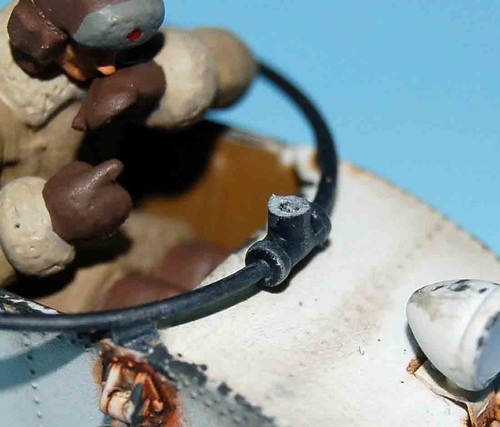
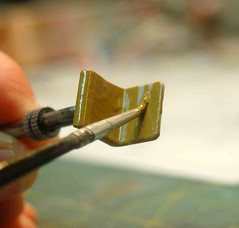
Fig 28) – Once I had the gunner installed I went ahead and installed the machine gun. Unless the builder wants the machine gun to point up in the sky, the machine gun mount will need to be shortened. Here I’ve removed about half of the mount height, so the machine gun sets level.
Â
Â
Â
Â
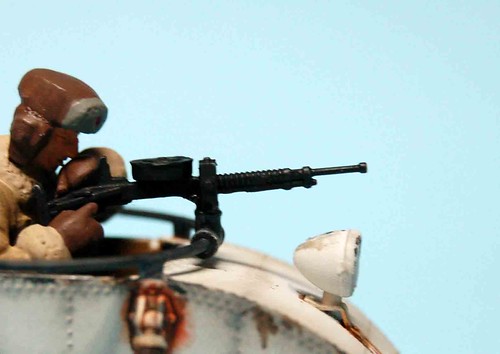
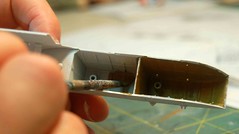
Fig 29) – Here is the installed machine gun with a more realistic stance. Final machine gun assembly consisted of installing the photo etched gun sight and lightly dry brushing with Model Master Steel.
Â
Â
Â

Fig 30) – With the exception of some very thin decals and a few snags encountered with the crew figures and machine gun, this is a great little model of a very unique WWII subject. Assembly of this kit is relatively easy and straight forward. However, the placement of the crew figures may be a challenge to younger, less experienced model builders. Overall, I was very please with my Trumpeter Aerosan RF-8/GAZ-98 and I would totally recommend this kit to other military model builders or anyone wanting to build something a little different.
Happy Modeling,
Pat
Donations Humbly Accepted
*All Registered trademarks are the property of their respective brands.
Â
