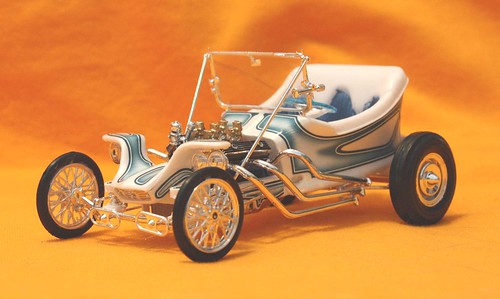
RoR Review 20100928 – The Outlaw by Ed Roth Revell #85-4294

RoR Review 20100926 – The Outlaw by Ed Roth Revell #85-4294
Review and Build by Aaron Gibson Photos by Martha Gibson
The Revell Outlaw by Ed Roth. The kit and box art for the re-released version.
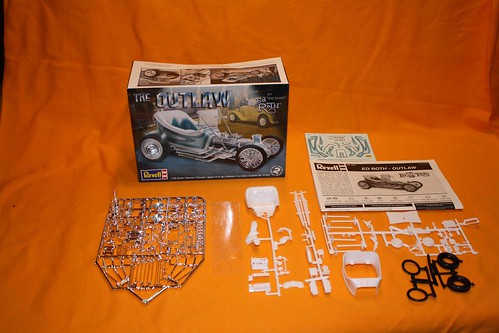
Figure1
While putting the motor together I noticed that there’s a gap in the upper bell housing. This can be fixed with thin part of Evergreen to cover the gap. Or, since it’s in a spot that cannot really be seen, leaving the gap there is not too much of an issue. The directions (Step 1) are not really clear about the order to put it together. The easiest way, is to put the left and right engine half on the engine bottom, then part #5, engine top.
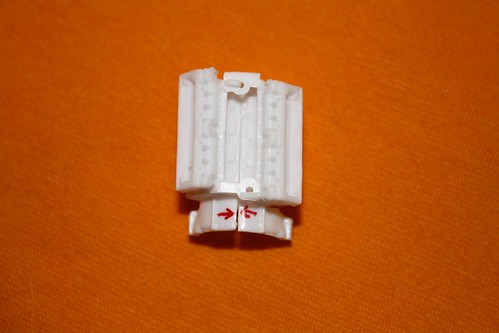
Figure2
On the second section of engine assembly on the direction sheet, there is a part called the valley cover (part #8). It does not fit onto the engine as shown in the sheet. The only way to even get it to fit is to flip it over (bottom side up). But, if this is done, the intake manifold will not fit properly. Looking closely at the box art, this part is not even on the engine.
Other than these two issues, the engine goes together fairly easily. Be careful and patient and make sure to scrape the chrome and paint off any edges that are to be glued.
Since there is a lot of chrome parts, before assembly, parts can be painted and black-washed to make the engine look more realistic. To black-wash, thin down some Testors flat black bottle paint then dab it around the parts. Make sure the wash is very thin and only use a small amount on each part. A little goes a long way. If you get too much, dab lightly with a paper towel until you get the desired look.
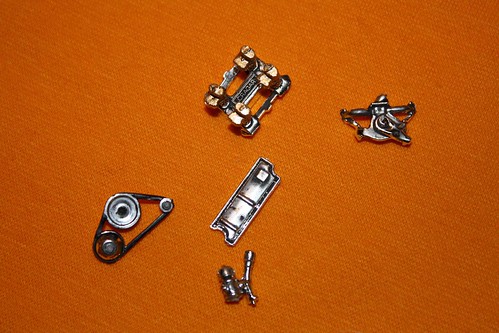
Figure3
The engine and transmission assemble together fairly easy. However, later on in the build a small problem was found that should have been taken care of at this point. The directions show assembling the Sabre gear shift while putting together the engine and transmission. However, if this is put in before the body is put on during final assembly there will be issues getting the body to line up. Save some trouble, put the gear shift in after the body is on the chassis.
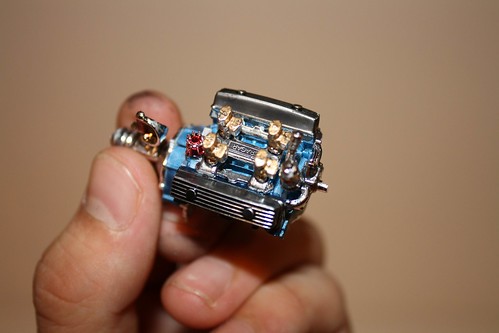
Figure5
Frame assembly is very easy. Pay attention to where cross members go. The directions are pretty clear but it’s possible to mess things up. The rear cross member is directional. The holes/pegs in one side are larger than the other, so it’s fairly obvious. Since the frame is multi-part, everything must be square. Lining the front and back up on graph paper and pinning it into place helps. Make sure this is done before the glue sets up.
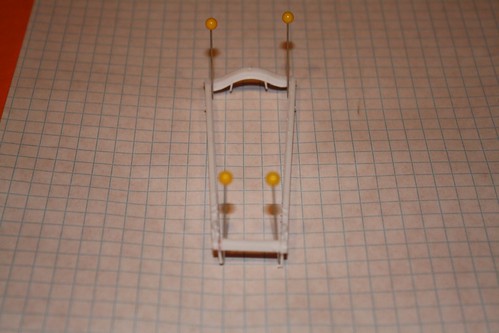
Figure6
The front suspension is all chrome. Make sure all glued surfaces are scraped before gluing and assembling. Everything is very thin and fragile. Be patient and use a light touch.
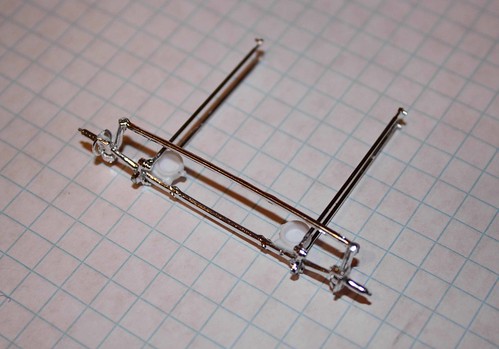
Figure7
The body and interior assembly did not fit together well; there was a small gap as seen in the picture.
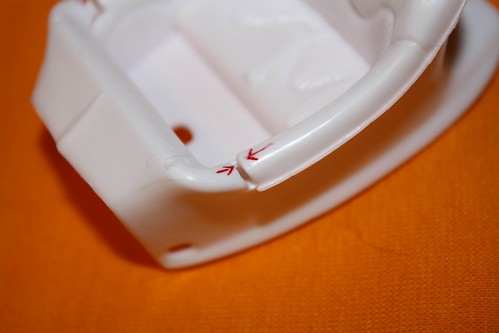
Figure9
The front of the interior tub hits a mold line for the firewall stop. This is not a tough fix.Â
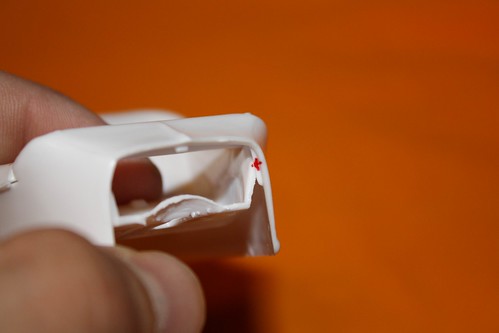
Figure10
Measure out the width of the gap and transfer that to the front of the interior tub. This does not have to exact.  Sand off a little at a time with an emery board or sand paper and retest. Repeat if needed until the gap has closed. DO NOT cut off the firewall stops, as this will cause problems later.
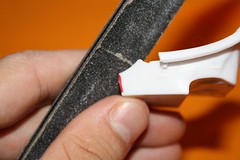
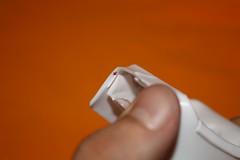
Figure11 & Figure12
After these adjustments the two parts should fit together nicely.
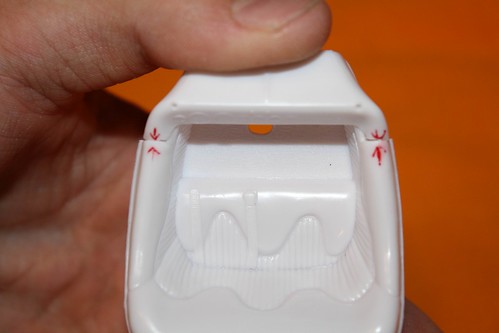
Figure13
The rear end parts are very neat and clean, the directions are fairly straight forward. As shown in the picture, there are some bits of plastic that need to be sanded off (marked in red). Make sure the two male pins are not sanded off, they will be needed for assembly. Make sure the chrome is scraped or sanded off all joining parts or they glue won’t hold.Â
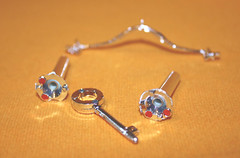
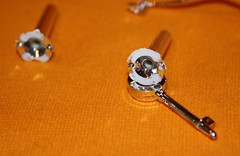
Figure14 & Figure15
Don’t be afraid to use super glue or another fast setting glue for these parts, a soft glue won’t give the same strength or integrity when it comes time for final assembly.
One note of rear assembly: When assembling the backing plates and rear radius rods make sure the directions are followed carefully. These have to be on the correct side and direction. Mock everything up and lay it out carefully before you glue it.
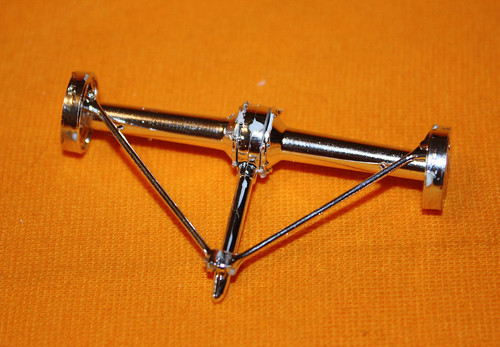
Figure16
To paint the interior tub, tape can be used to mask off one color and apply the next. This will probably not be needed if brush paint is being used. Lay the tape over the interior tub, use the pointed end of a brush handle to push the tape into the seams and trim along the seams with a hobby knife.
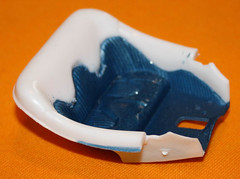
Figure20 & Figure21
The sample of this model was painted with Testors® Model MastersTM White Lightning, which is a pearl white. A base coat of Duplicolor® flat white base is applied first and allowed to dry completely.
Don’t take the decals for granted, they were not easy to apply. The contour of the body, and the shape of the decals, made getting them lined up difficult. Start with the side decal parts (#1 and #2), then sections #6 and #7. The rest should come close to lining up. After applying the decals, use a bit of t-shirt fabric to lightly press them flat, paper towel causes them to dry too quickly. There may be a bit of touch up with paint and a small brush where the decals didn’t match up. For those people that use clear coat over their decals, either get the clear as light as possible or skip it.
Final assembly was very simple but challenging. Getting the body on was easy as long as the shifter was not put on earlier. Everything is very tight, don’t get too aggressive. The exhaust pipes were the hardest part due to the distance between gluing points. Scrape the chrome and paint off the gluing areas and use fast-setting glue. One note for the windshield, there is no template. Trace the inside of the frame onto the plastic and cut it just a bit bigger. Trim as needed until it’s the correct size. They include a good size sheet of plastic, so if it’s not perfect the first time you’ll have another chance.
This kit is rated as a Skill Level 2 experience. This is probably understated and should be a Skill Level 3 kit. This is not a good kit for a first time builder. There are a lot of great ways to detail this kit and is pretty cool looking when it’s all done. It needs a steady hand and some patience. It was a little disappointed that there wasn’t a whitewall insert for the tires even though it’s shown on the box art.
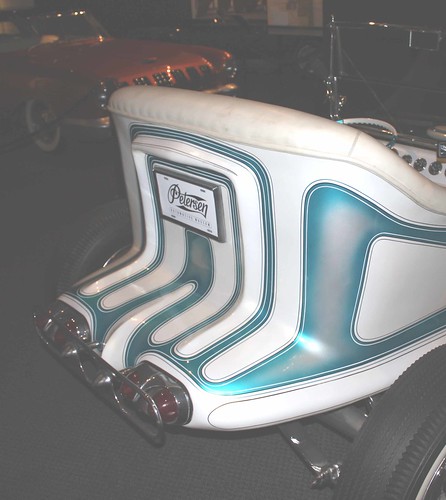
The original 1959 Outlaw is an automotive styling icon and can still be seen at the Petersen Automotive Museum in California.
