RoR Review 20110203 – M48A2 Patton Tank Monogram® 85-7853

RoR Review 20110203 – M48A2 Patton Tank Monogram® 85-7853

Buy This Kit
Review and Photos by Lonny Dyer
The M48A2 was just 1 of the many variants of the M48 medium battle tank. The A2 model was fielded in 1955 (too late for Korea) and was the first version to have a redesigned hull and ONLY 3 track support rollers per side. It is also the first version to feature the rear doors/ exhaust panels. The M48A2 featured a 12 cylinder, 810 hp gasoline engine all later versions were diesel powered. The M48 series tank was widely used in Viet Nam by both Army and Marine Corps units. It also served (and still does) in many countries around the world.
With the advent of the M60 medium battle tank in 1965, the M48 was slowly replaced in American Army units with some units using M48A5 tanks until the mid 1990’s. Also the M48 chassis was widely used for specialty vehicles like the Armored Vehicle Launcher Bridge (AVLB) and the Combat Engineer Vehicle (CEV) for many years.


For the modeler – this kit contains: 152 pieces molded in Olive Drab, full rubber tracks, 2 crew members, 6 infantry soldiers, painting instructions and decals for U. S & Israeli army versions. This 1:35 scale model is rated a skill level two which is just about right due to the number of pieces. The construction is not too difficult and with some weathering and finishing techniques it makes a great display piece with sufficient detail at a very reasonable price.
Step 1 Hull assembly.
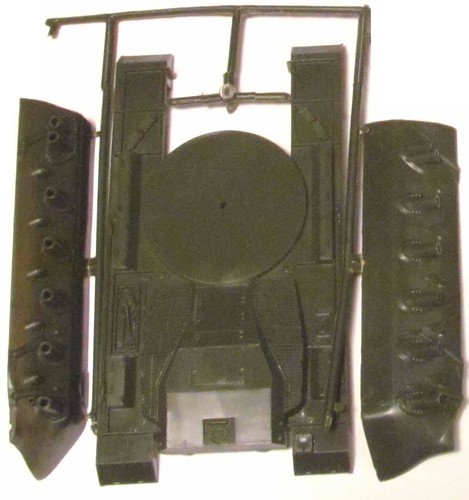
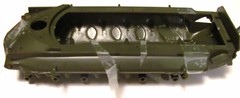
Assembly would have been very easy, unfortunately the bottom hull is in three pieces (photo 0346) and even with careful sanding and/or filing the three parts do not fit together very well.
Be prepared to use some filler to achieve a solid looking lower hull (photos 0360, 0362).
Glue the two main pieces together upside down first, in order to keep the hull square (photo 0354).

Tape the top hull to the lower pieces to get the whole unit lined up (photo 0356, 0357).

After filling and sanding and painting the hull should look like (photo 0364).

Step 2.
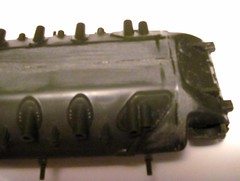
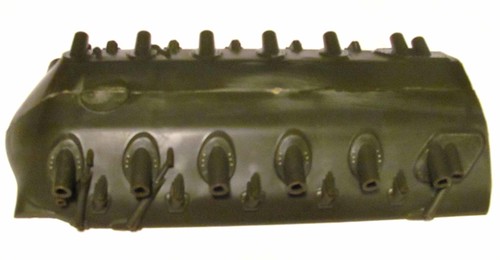
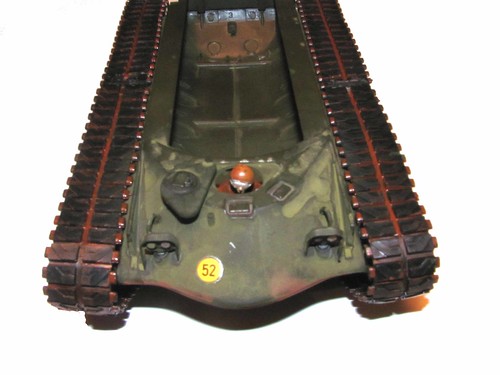
The road wheels and support rollers are easy to install, however the road wheels do not assemble very easy. Â It will take some time and patience to get them where they are round and don’t wobble. Sand down the point where the two wheels touch each other using a cardboard emery board or suitable sanding stick to keep them from becoming lopsided, To keep them level with each other use one road wheel arm to hold them true while gluing. Extreme caution is needed NOT to glue the wheels onto the arm. Install the idler arms and rollers(part # 15,16, and 17) before installing road wheel arm for ease (photo 0374) of assembly, install road wheels and axle cap( part #15, 17, and 19) onto road wheel arms before attaching the arms to the hull.
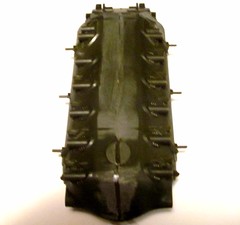
After installing all road wheels, allow enough time for the cement to set before installing the tracks, otherwise the front road wheel/tensioner assembly (part # 14, 19, and 17). Â will pull away from the hull when you install the tracks in STEP 3 (photo 0390).
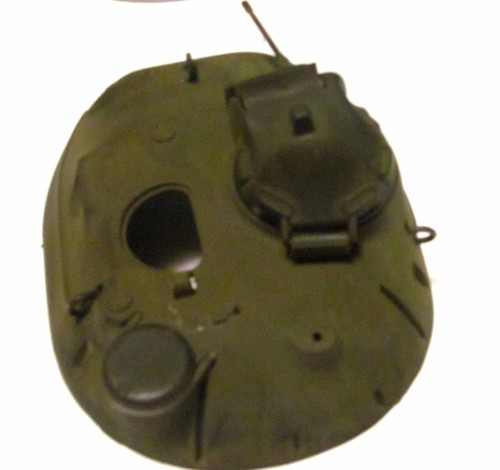
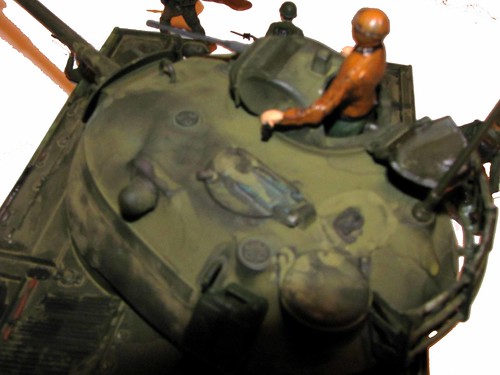
Step 4 cupola/turret assemblies.
The commander’s cupola and upper turret assy. go together easily, although some trimming is required to the hinge for the commander’s hatch if you want it to move. If you mount it closed it is a ill fit and will require some additional work. I use a cardboard emery board to sand the hinge piece for open display, if you want a closed display you will need plastic filler to cover the large gap between the hatch and the cupola (photo 0369).
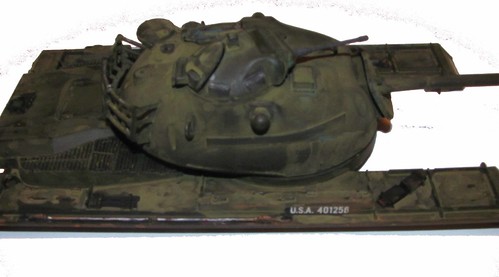
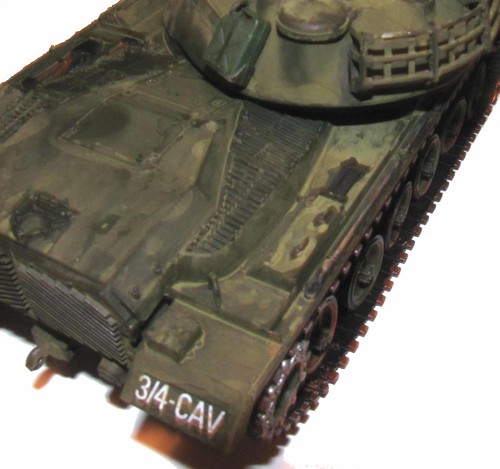
Step 5 turret and fender assy.
This is pretty straight forward so just follow the assembly instructions (photo 0393).
Step 6 rear rack assy.
This is just like the instructions too (see Photo 0407).

Step 9 main gun assy.
Follow the instructions in Step 9 but here is where you can add some great details.  Drill out the end of the gun tube for more realism. You can use a paper clip warmed over a candle to melt a hole in the end of the barrel and then follow up with an Exacto® knife to ream it out to the proper dimension. For the smaller machine gun barrel just use a small dab of black/silver paint to give it some contrast to look like there’s a hole in it (photo 0410).
Finishing
This kit was painted using Tamiya® olive drab XF-62 for the base coat and then added more thinner (water) to each additional coat to achieve a dusty, chalky finish. You can then used some old sidewalk chalks to add weathering (photo 0405).

Step 11 Decals.
For this build only the bumper numbers and USA #’s were used on this tank even though graffiti decals included, they just don’t look like anything normally seen on a military vehicle (photo 0404).
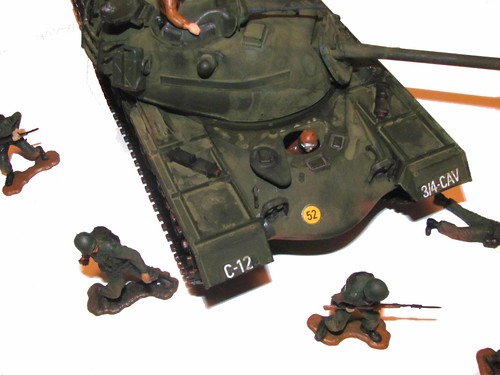
Overall this kit is rated a level 2, but it’s not difficult to assemble. The kits does not include a lot of details which is good for some and bad for those who like total detailing but there are molded highlights that can be brought out with painting and detailing. Other than the poor-fitting hull pieces this is an enjoyable and relaxing kit to build (photo 0408).
