2002 Camaro Monogram 2n1 kit #85-4273 in 1/25 scale Review

RoR Step-by-Step Review 20120329* – 2002 Camaro Monogram 2n1 kit #85-4273 in 1/25 scale Review
Click Here to Buy This Kit
See the Step-by-Step Review by Tom Schaefer 
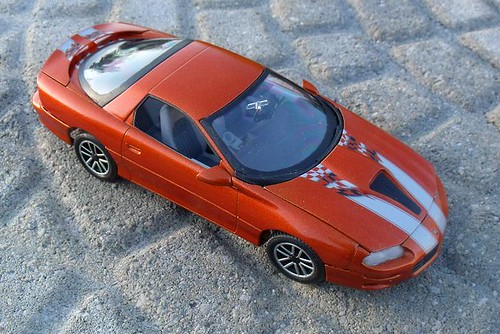
One night at a church function, a very nice lady from our congregation commented how us “car guys†hadn’t asked to test drive her new ’02 SS Camaro. Well…needless to say, I got the hint. After taking the keys, I pulled onto the main road and waited at the first stoplight. Turning on the traction control and giving it a healthy bit of gas, the light turned and that car launched like nothing I had ever driven before! Wow! Upon receiving Revell’s reissued 2002 Camaro 2 in 1, I was excited that I could build a replica of the car I drove that night.
 Â
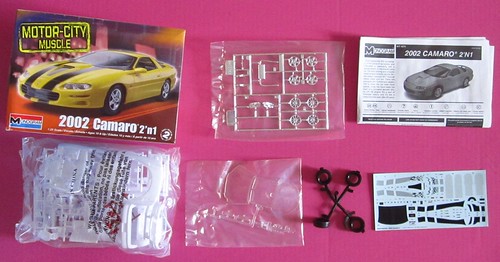
Fig 00a – Opening the box I noticed right away that there was a really nice level of detail, a decent parts count (90 pieces), and the options of building a SS, Z28, or a 35th Anniversary edition (so technically a 3 in 1 kit).Â
 Â
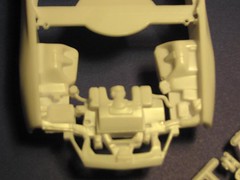
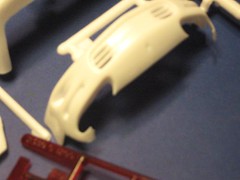
Fig 01, 02) – What I didn’t like was that there seemed to be a lot of light flash on all the parts. Not real bad, but it will add to your prep time (fig 1,2).
After prepping the body, it got a light coat of PlastiKote primer, then my new favorite paint was applied, Testors One Coat lacquer. I was planning to paint it the same as the car I drove in ’02 (white with orange stripes), but I couldn’t resist the Sunburst Orange color. After a night of prep, paint and dry time, it was time to get started.
Â
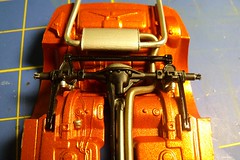
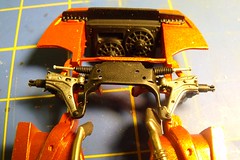
Fig 4,5) – The chassis is a beautiful piece, very well detailed. The suspension seemed to be a little weak, but after installing everything, I was impressed with how strong it was.
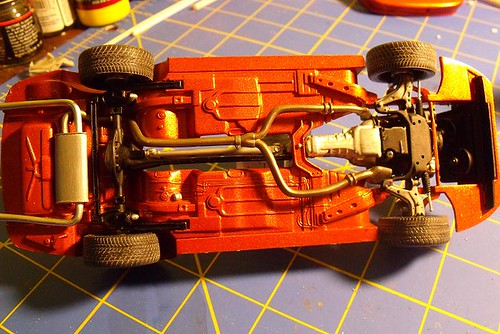
Fig 06) – A little detail painting set everything off well. I was a little disappointed with the tires. The detail isn’t all that great and they looked a little small, but once the body was on they looked perfect.
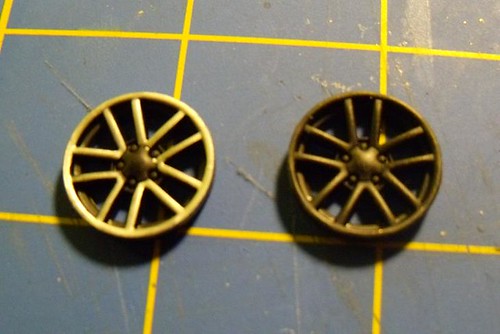
Fig 07) – The wheels were stripped of chrome and painted flat black then outlined with aluminum paint, then coated with Testor’s Gloss Coat There was a problem with the chassis, but I didn’t know it yet.
Â
Â
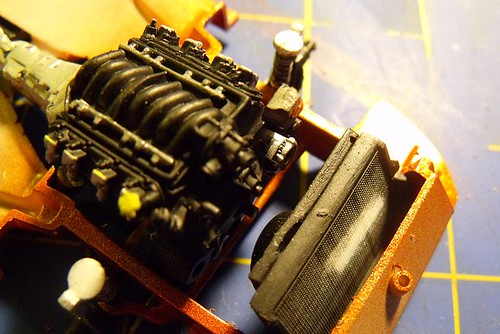
(Fig 8) – The engine is Chevrolet’s famed LS1 V8, with 6 speed transmissions. When it is all put together the engine looks beautiful. It has found its way into a ton of other projects on model benches all over the world. There is a ton of detail, but unfortunately, everything gets painted semi gloss black or aluminum. Not that you have to paint it like the directions say to. The hard part is putting on the radiator hoses when the engine is installed, other than that it all lines up well.
Â
Â
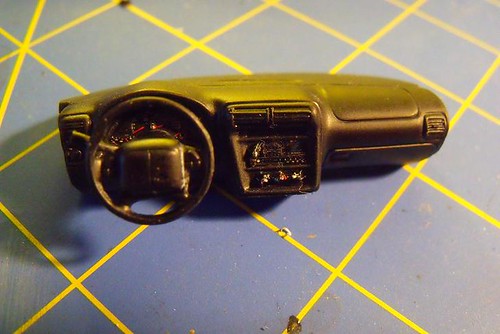
Fig 10) – The dash has some nice decals, but you will have to remove some of the radio and heater detail to use them. I tried to get them to settle down over the knobs, put it didn’t look good.

Fig 11) – The interior builds up nicely; separate door panels, center console and back seat make detail painting a snap!
Â
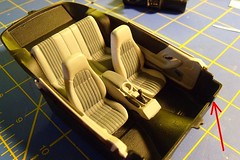
Fig 12, 13) – Also the master cylinder and pedals are supposed to fit on the front of the interior tub. It’s a nice touch, IF you remember to put it on, which I did not.
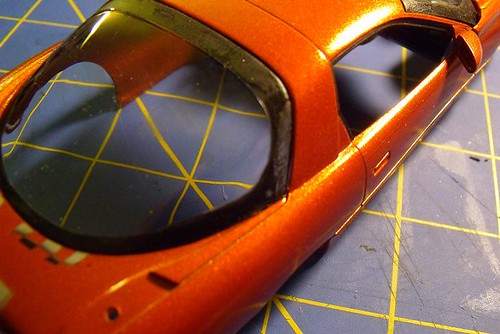
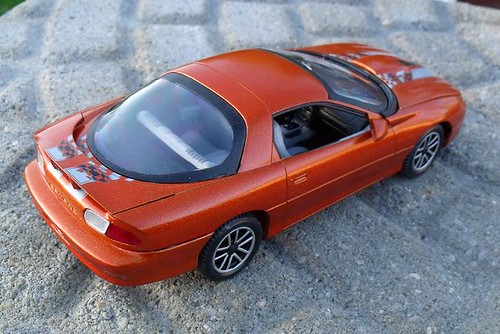
Fig 14) – The Body looks awesome. The window unit slides in as one unit, which is nice, because there is no need to glue.
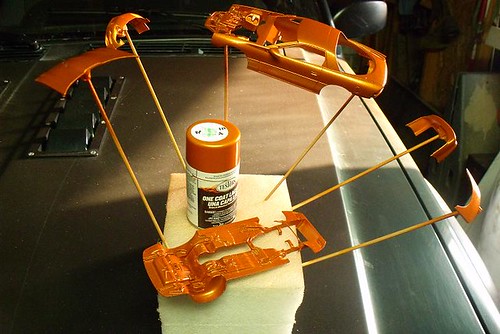
Fig 15) – With separate front and rear fascias, and rear wing, the proportions look spot on! The front and rear fascias, and wing cannot be glued on before paint, so care has to be taken when attaching them.
Â

Fig 17) – The main issue I had was installing the headlight lenses; they fit well, but will take patience and some clear epoxy to get them in right.
Â
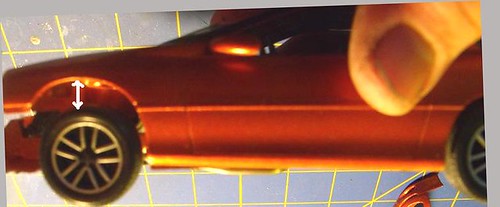 Fig 18) – Remember I said I had a problem with the chassis? Well it seems the front of the chassis was warped down! I didn’t notice until I tried mating it to the body
Â
Â
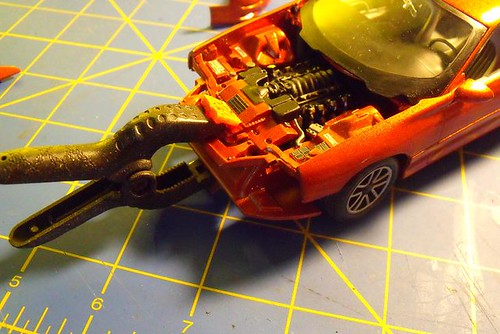
Fig 19) – So I clamped the two together and applied a liberal amount of glue. Worked like a champ!Â

Fig 20) – Also the front fascia seemed a little wider than the body, which makes the hood not fit so well.

Fig 24) – Even the underside of the car is well detailed and looks great!
Overall this is an impressive model, with some good detail. But I would NOT recommend it for anyone but a skilled modeler.Â
*All Registered trademarks are the property of their respective brands
