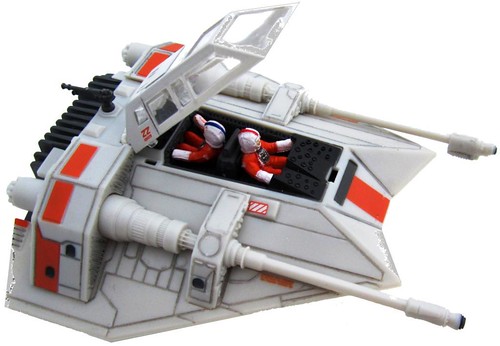
Star Wars T-47 Snowspeeder Revell Kit 85-8340 Review
RoR SnapShot Review 20120802* – Star Wars T-47 Snowspeeder Revell Kit 85-8340 Review
Â
Click Here to Buy This Kit at Amazon.com

A SnapShot review by Doug Cole 
Revell has scored another gold medal in their efforts to bring youngsters into the world of model building with this recent release of the ever-popular Star Wars kits. There are six kits to choose from that your son or daughter will love. The reason is because they are small and durable enough to play with after they have built their own model. Listed as a skill level 1 for kids 8+ these kits can be assembled by younger children with an adult helping to follow the clearly illustrated instructions. Also included in this series are Luke Skywalker’s X-Wing Fighter, Darth Vader’s Tie Fighter, Anakin’s Jedi Starfighter, Tie Interceptor, and Hans Solo’s Millennium Falcon.
As the Revell site states, “Flown by Luke Skywalker* and his Rebel pilot pals during the Battle of Hoth, the Snowspeeder is a specially modified vehicle used for flying in cold conditions. It can carry up to two passengers. When the Snowspeeder’s laser cannons proved ineffective against Imperial AT-ATs, the harpoon and tow cable allowed Rebel pilots to trip them and then shoot them down.†Who could forget or fail to enjoy the moment when that first behemoth slowly crashed to the ground during the Battle of Hoth!
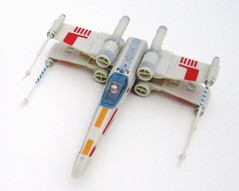
 My 8 year old son completed his Star Wars Luke Skywalker’s T-65 X-Wing Fighter kit #85-8337 (at left) in about 15 minutes and in less than a half hour we were chasing down the Imperial soldiers and their dreaded war machines.
For the Modeler: This kit features easy snap-together assembly and 23 painted plastic parts. No paint or glue is required although a touch of adhesive here and there helps hide the seams and adds strength to the construction. The parts are not attached to a sprue so pay close attention to the bubble pack container because that is where you’ll find the part numbers for assembly. There is virtually no flash so the pieces fit together flawlessly but there are some sprue stems that you’ll need to trim off with a sandpaper stick. The finished model is just under 4†long and 3½†wide. For this kit there is one note – separate the upper and lower body halves then place the cockpit assembly into the upper body half at step 3. It is shown there in the upside down position so it’s hard to spot. Use the back end of a small paintbrush to seat the crew into position. I added a little accent with sharp pencil in the panel lines but other than that it’s a snap to build this kit in about 20 minutes.Â
Â
Right On Replicas, LLC ©2012 All rights reserved.
*All registered trademarks are the property of their respective brands.


